Start with a quick spray test
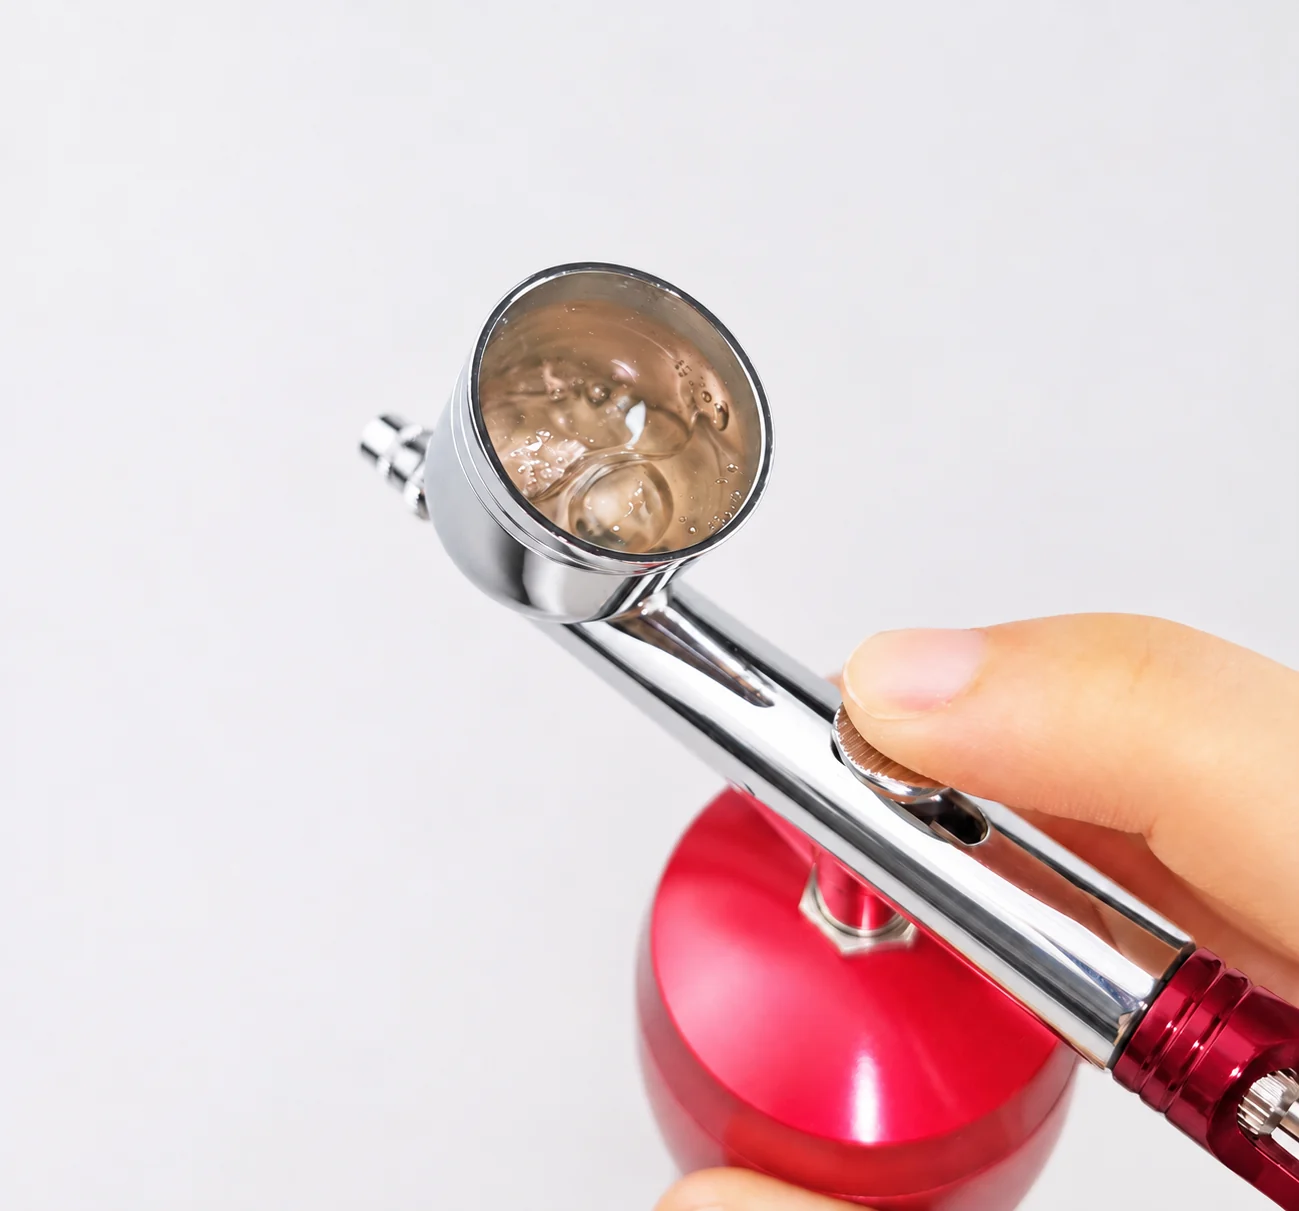
If you’re using water-based acrylic, empty the cup, rinse it, and try spraying a little clean water. For other paints, use a test fluid compatible with the paint and the brush.
- Water bubbles too. I check the nozzle for dried paint, then make sure the nozzle and cap sit properly. A blockage or a poor fit can cause bubbles even with water.
- Water sprays normally, but paint brings the bubbles back. Check the paint for clumps, make sure it’s properly thinned for your setup, and look for dried paint on the exposed needle tip. A good water test helps narrow the search, but it doesn’t prove the nozzle is clear.
Bubbles you deliberately create during backflushing are expected. These checks are for bubbles that appear while you’re trying to spray normally.
Check the parts you last removed
If the problem started after cleaning, make sure the nozzle sits straight and the front cap is properly seated. Tightening a cap harder won’t fix a nozzle that’s sitting crooked. If your design uses a seal or washer at the front, check that it’s in place and lies flat. On a side-feed model, check the cup connection if the manufacturer identifies it as a possible leak point.
If you just changed nozzle size, check that the needle, nozzle, and any size-specific cap are the right combination for your model. I press the trigger for air first, then pull it back slowly and watch the cup. If the bubbles show up only partway through the pull, I recheck how the new parts fit together.
Clean the nozzle and the surface it sits against
There are two places to look for dried paint. Paint inside the nozzle can block the passage. Paint where the nozzle meets the body can keep the parts from seating properly.
- Inside the nozzle: Loosen the residue with a cleaner suited to the paint and rinse it out. If the deposit won’t come away, give the cleaner more time only if the cleaner and nozzle instructions allow it. Don’t push a hard tool through the tiny opening.
- On the seating surface: Wipe away visible residue with a lint-free swab dampened with compatible cleaner. Check that the nozzle sits flat when you put it back.
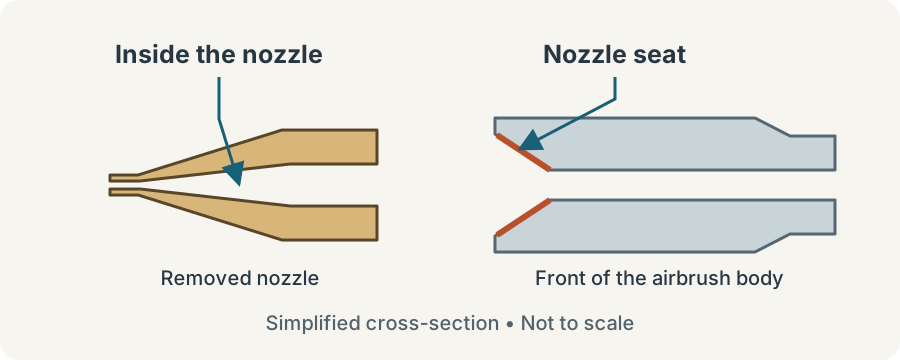
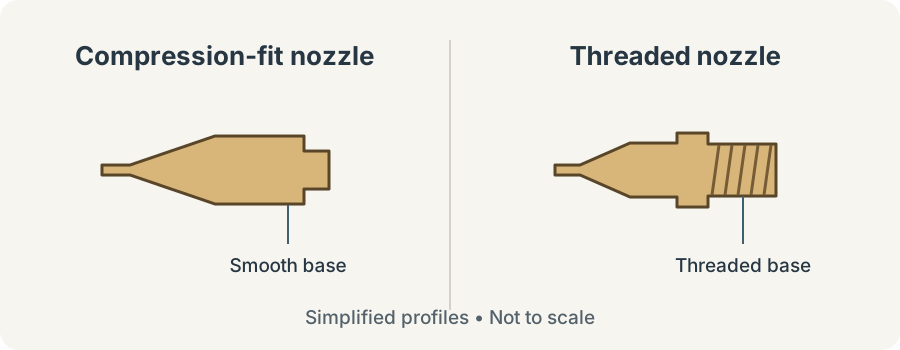
A small threaded nozzle and a drop-in nozzle come apart differently. If yours is threaded, use the tool intended for it and start it straight when reinstalling it. On Iwata Eclipse BS, SBS, and CS models, including the HP-CS, the press-fit nozzle assembly comes out as a unit. Clean the assembly without trying to split it apart.
The cleaning guide covers removing paint from the nozzle and paint passage without treating every airbrush as the same design.
Retest before buying parts
Reassemble the front and repeat the spray test. If the bubbles are gone and the spray is steady, try your paint again. If the bubbles persist, look closely for a crack, dent, or distorted opening in the nozzle. Check the needle tip for a bend and inspect any seal the front assembly uses.
Bubbles alone don’t tell you which part to buy. If you find a damaged nozzle or seal, match the replacement to your exact model and nozzle size. If the bubbles stop but paint still won’t come out, watch the needle as you pull back the trigger. If it doesn’t move, start with the needle chucking nut and the trigger mechanism.
If the bubbles stop but no paint comes out, follow the no-paint diagnostic checks instead of continuing to tighten the front parts.