I use that order to separate an air problem from a paint-flow problem. This guide focuses on a gravity-feed airbrush with independent dual action: down for air, back for paint. Bottom-feed and side-feed differences are covered below.
Start Here: Match the Symptom
Choose the row that matches what your airbrush does, then follow that check. You don’t need to work through every possible fault.
Scroll sideways to see all columns
| What happens | Check first | What to do next |
|---|---|---|
| No air comes out | Compressor, hose, regulator, connections, and any air-control valve | Follow the air-supply checks below |
| Air comes out, but the needle doesn’t move | Needle chucking nut and travel limiter | Secure a loose nut gently; don’t force a stuck needle |
| Needle moves, but no liquid comes out | Needle tip, fluid passage, and paint supply | Clean the accessible tip, test, then inspect the nozzle if flow is still blocked |
| Liquid drips but doesn’t form a mist | Air delivery and the assembled head | Check the air supply and that the head parts are present and seated |
| Water sprays, but paint doesn’t | Paint mixture, settings, and partial blockage | Try a small, smooth batch with the right thinner |
| The problem began after cleaning | Needle movement and head assembly | Check reassembly before repeating a full clean |
Air Comes Out, but No Paint
Check whether the needle moves
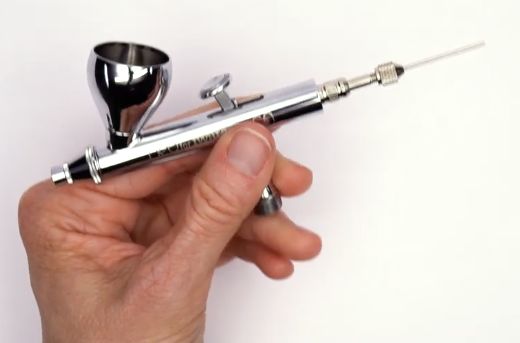
The exposed needle and chucking nut with the rear handle off. Still from Iwata Airbrush QuickTech, 4:40.
On an independent dual-action airbrush, pressing down releases air. Pulling back retracts the needle and opens the paint outlet. A moving trigger doesn’t necessarily mean the needle is moving with it.
- Disconnect the air supply and unscrew the rear handle.
- Gently pull the trigger back while watching the rear of the needle.
- If the chucking mechanism moves but the needle stays still, check whether the chucking nut is loose. Snug it with your fingers, then check again.
If your airbrush has a preset knob or travel limiter, back it off enough to allow needle movement. A nearly closed limiter can restrict paint flow even though the trigger still moves a little.
Don’t force a needle that remains stuck. Dried paint or a problem in the mechanism can prevent movement. Pliers or a hard push can turn a cleaning problem into a damaged needle or nozzle.
Clean the tip, then test the fluid path
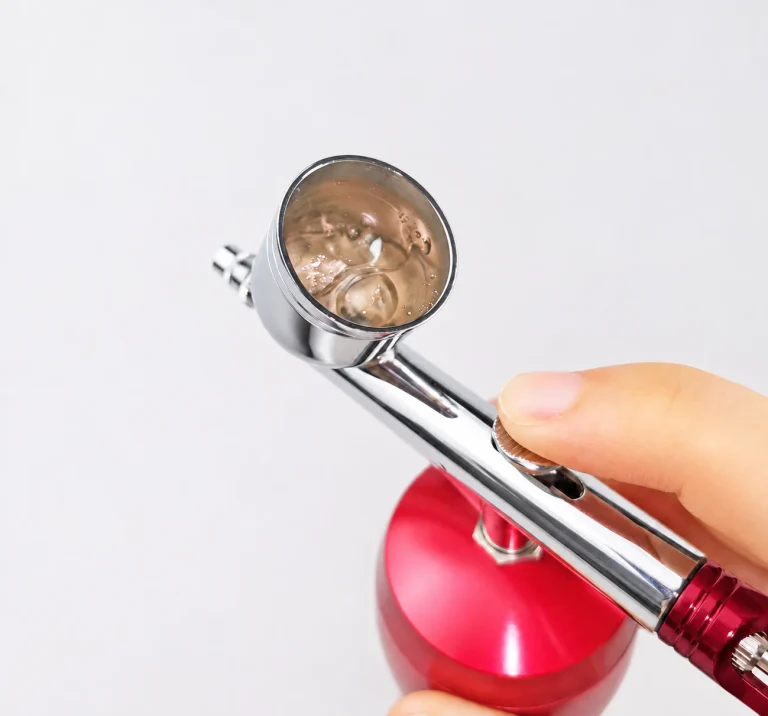
Empty the cup. Look for paint dried around the needle tip. If a removable protective cap blocks access, remove only that cap, taking care around the sharp needle. With the air disconnected, gently clean the deposit with a soft brush or swab dampened with compatible cleaner. Avoid sideways pressure on the tip.
Reassemble, reconnect, and try a small amount of test liquid. If it sprays, check the paint before refilling the cup. If it only drips, move to the airflow and head checks below.
If no liquid comes out, don’t keep trying to spray cleaner through a blocked path. Disconnect again and inspect the fluid passage and nozzle. Remove and clean the nozzle using the procedure for that design: tiny threaded nozzles and self-centering nozzles are handled differently. Use compatible cleaner to soften residue and suitable cleaning tools without forcing them into the opening. Don’t use the painting needle or wire as a ram to push a plug through.
Clean the cup-to-nozzle passage as well as the nozzle itself, then reassemble and repeat the liquid test. If the needle is stuck or a part won’t release normally, stop before applying more force.
For the cleaning sequence itself, use the airbrush cleaning guide.
Check the paint supply
For a bottom-feed or siphon airbrush, check the bottle vent, pickup tube, and bottle connection. A blocked vent or a tube that doesn’t reach the liquid can interrupt supply.
For a side-feed airbrush, check the cup connection and its feed passage. If the design uses a blanking plug on the opposite side, make sure it’s fitted. Different bottles and cups attach differently, so don’t assume they all push in or all screw in.
Liquid Drips, but Doesn’t Spray
Dripping tells you some liquid is reaching the outlet. It doesn’t tell you that the airbrush is atomizing it.
Check the air supply with the head fully assembled. Then disconnect and look for a missing, loose, incorrectly fitted, or obstructed part around the nozzle. The air-directing cap and the nozzle must work together; removing a cap and seeing liquid escape doesn’t prove the airbrush will spray correctly when assembled.
A partial blockage or damaged nozzle can still contribute. If airflow and assembly check out, inspect those next rather than repeatedly thinning the paint.
Airbrush Not Spraying Air
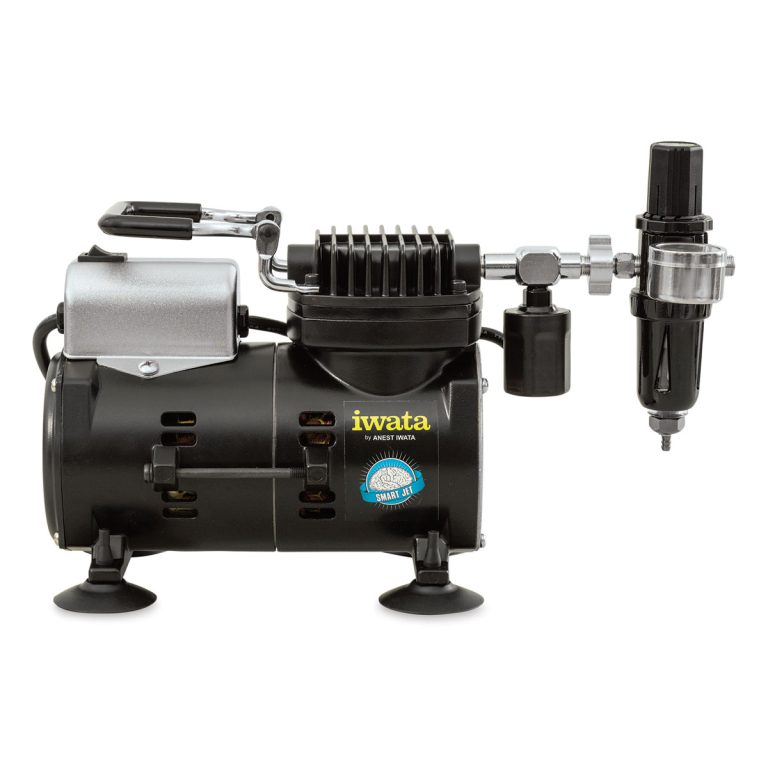
Check that the compressor is powered and able to supply air. A tank-equipped compressor may be quiet because its tank is already charged. Check the hose for kinks, confirm the quick-connect is fully engaged, and check the regulator and any fitted air-control valve. Not every quick-connect has a separate valve.
Read the pressure gauge while holding the trigger down. Use a working range appropriate for the airbrush and material, rather than a universal PSI setting.
A pressure reading doesn’t prove air reaches the airbrush. A gauge upstream of a closed valve or restriction can still show pressure. Check the accessible connections and controls between the gauge and the brush. If the external supply checks out but pressing the trigger still releases no air, have the airbrush valve or mechanism checked rather than opening it as a first troubleshooting step.
It Sprays Water, but Not Paint
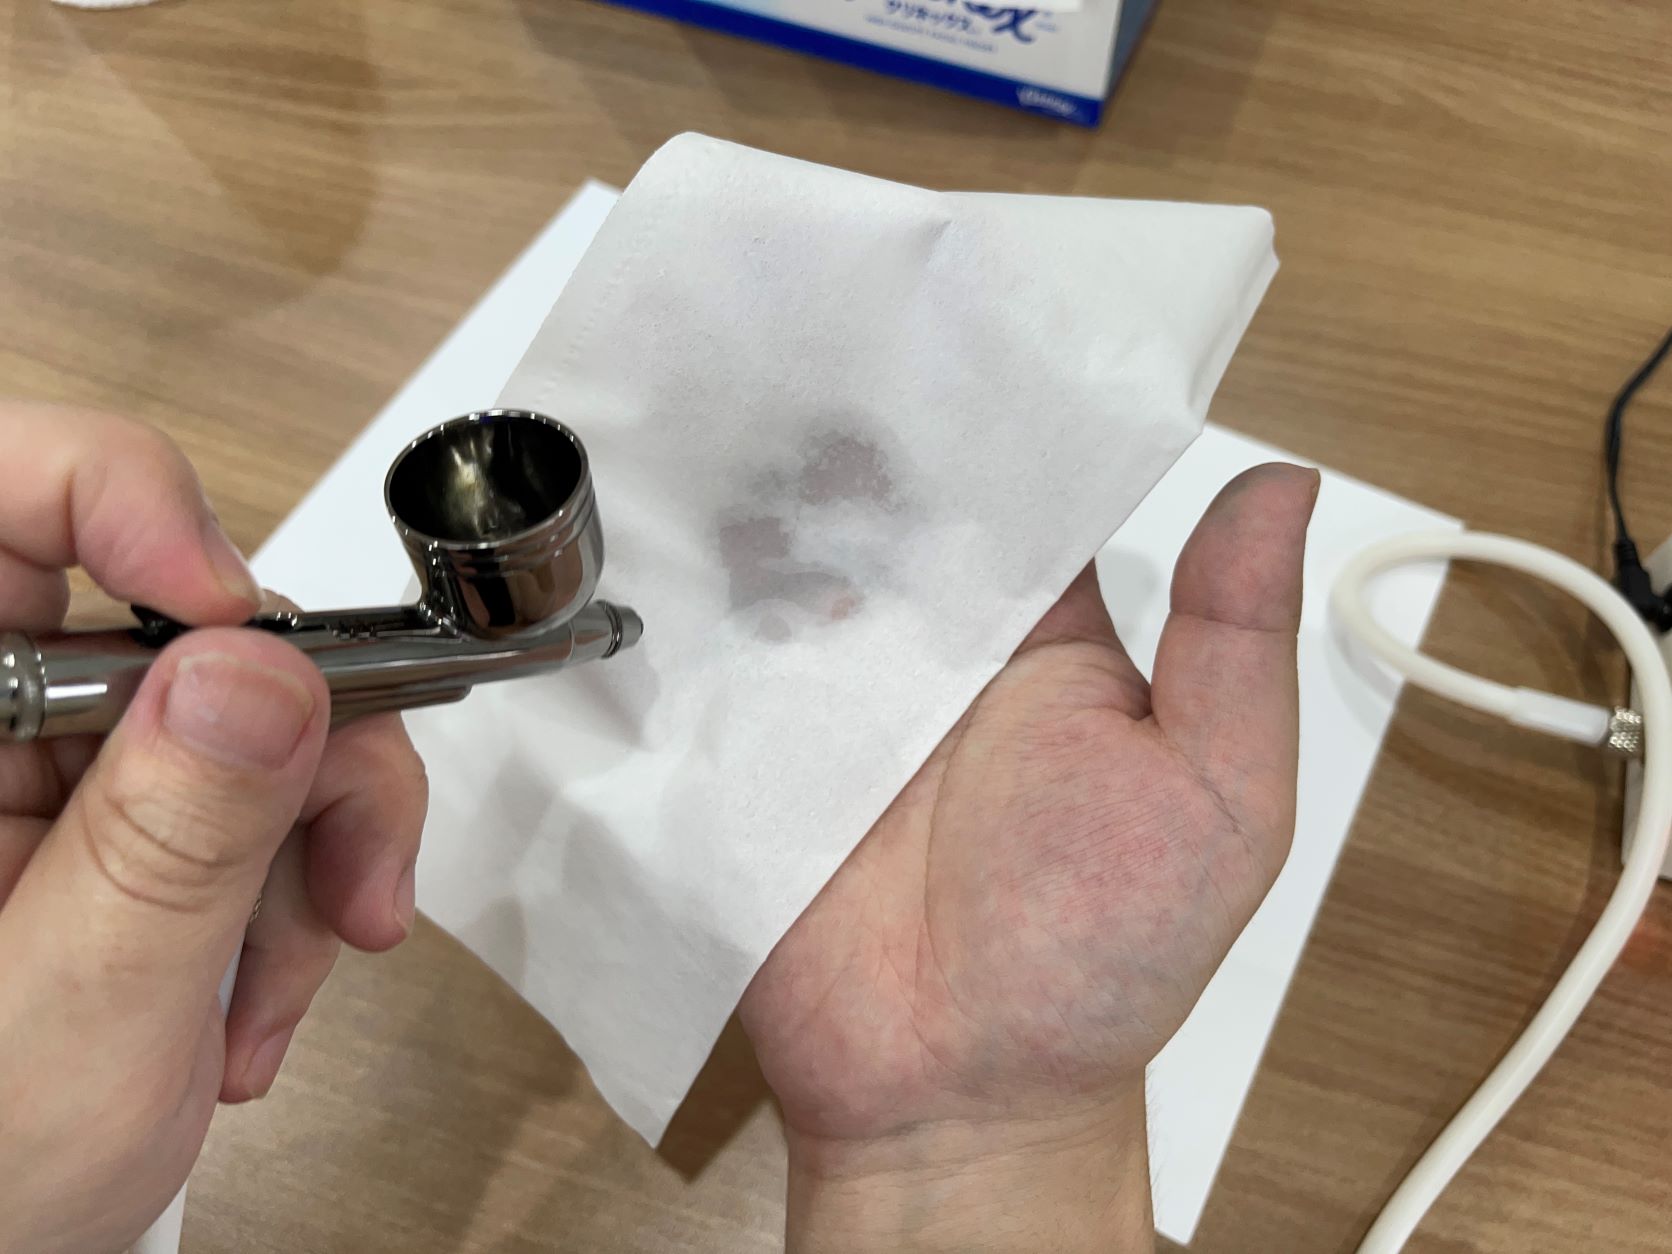
A test spray onto a white tissue. Photo by Airtex.
A successful water test narrows the search. It doesn’t prove every passage is clean: a partial restriction may pass water but interfere with paint.
Try a small, freshly mixed portion of paint with no lumps or dried skin. Use a thinner compatible with that paint line. An incompatible thinner can produce clumps instead of a usable mixture. Don’t keep adding thinner to a batch that has already curdled.
Test again, changing one thing at a time: mixture, working pressure, or paint-flow adjustment. If the brush still struggles with a smooth, suitable mixture, revisit the nozzle and fluid passage. Water flushing clear isn’t proof that all dried deposits have been removed.
If liquid flows but the paint will not, prepare a small fresh paint mixture before assuming the nozzle needs replacing.
It Stopped Spraying After Cleaning
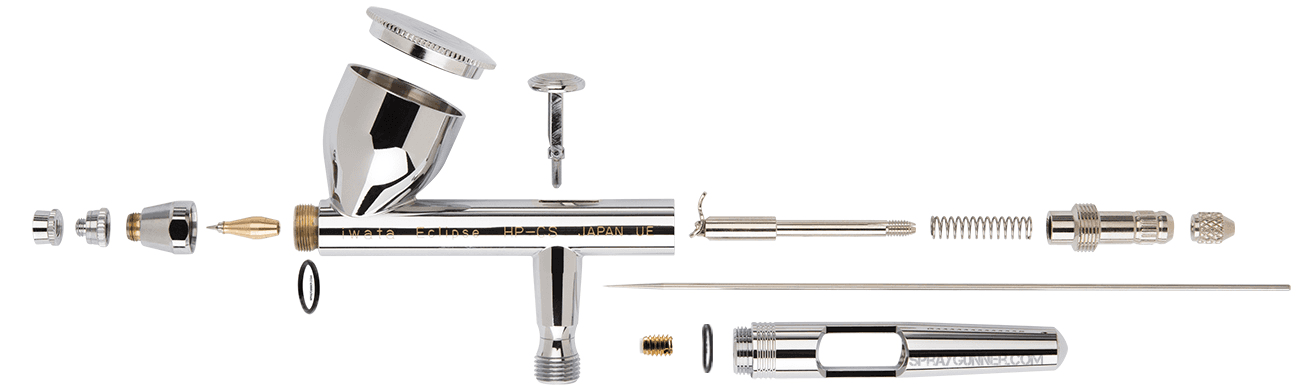
Eclipse HP-CS parts layout. The front caps and brass nozzle are to the left of the body. Image by SprayGunner.
If the problem appeared immediately after cleaning, check what you removed or adjusted before starting another teardown.
- Needle and chucking nut: confirm the needle moves with the trigger. If you removed it, reseat it gently, without pushing through resistance, and secure the nut.
- Head assembly: check that each part is present, correctly positioned, and seated.
- Replacement parts: confirm they suit the exact model and head setup. Matching nominal nozzle sizes don’t guarantee interchangeable parts.
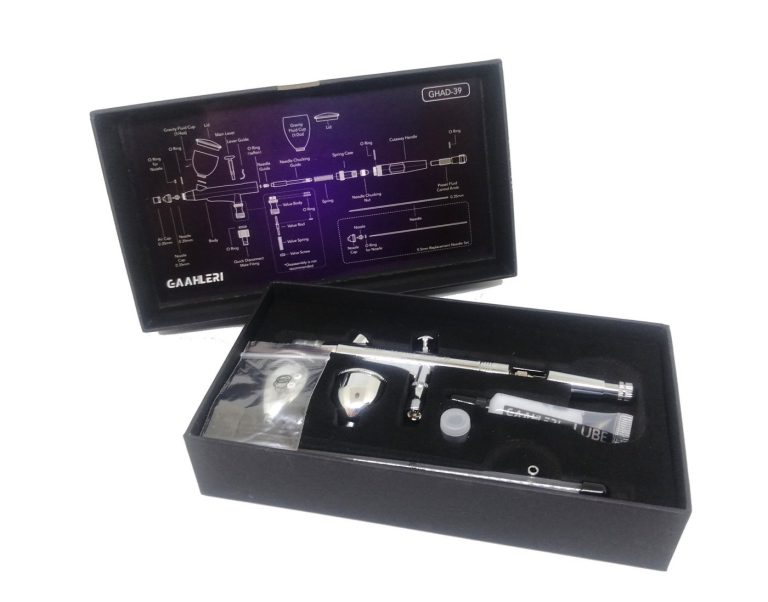
The front parts have different jobs. A needle guard or protective cap protects the exposed tip. An air-directing cap controls airflow around the paint nozzle. The paint nozzle is the small outlet the needle closes. Some designs also have a separate head cap that holds the nozzle assembly in place. Names vary: the Iwata Eclipse manual, for example, lists a needle cap, nozzle cap, and head cap separately. Don’t treat those names as interchangeable or remove all the caps and expect normal spray.
Reassemble using the tightening method for the particular part. Don’t compensate for a poor fit by adding torque. If something remains loose or won’t seat, check for residue, an incorrectly fitted seal, a mismatched part, or damage before buying replacements.
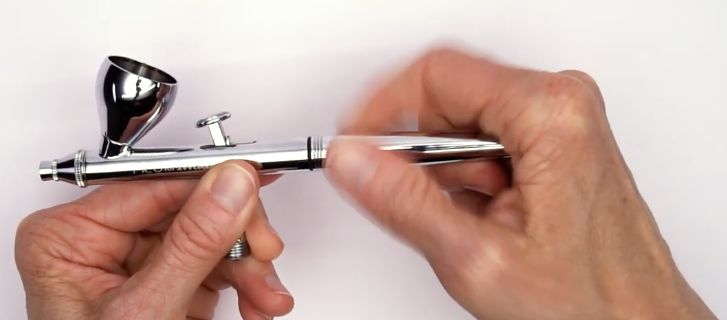
Refitting the rear handle after reassembly. Still from Iwata Airbrush QuickTech, 4:45.
On an independent dual-action brush, liquid should start when you pull back. If it sprays when you press down for air alone, check needle seating and whether dirt or damage is preventing the needle from closing the nozzle.
A Brand-New Airbrush Will Not Spray
Start with the same needle-movement and liquid checks above, using only a small amount of test liquid. Confirm how your trigger operates: single-action and pistol-trigger designs don’t use exactly the same movements as independent dual-action brushes.
Check bottle or cup attachment if applicable. If the basic checks fail, contact the seller before a full teardown, especially while the tool is under warranty. New doesn’t automatically mean defective, but it doesn’t rule out a fault either.
Airbrush Not Spraying Consistently
Paint starts and stops while air stays steady: check for dried paint on the needle tip, enough liquid in the cup, and restrictions in the supply path. Test with clean, compatible liquid. A steady result shifts attention toward the paint batch, but doesn’t rule out a partial blockage.
Air and paint both surge or drop: check accessible connections and watch the gauge under flow. A changing reading is a clue to investigate the supply; a steady gauge doesn’t exclude a restriction farther downstream. Check these before assuming you need a new compressor.
Large droplets replace the mist: paint is flowing, but atomization is poor. Check the mixture, working pressure, dried residue, and head assembly. Partial blockage or damage can also cause spattering.
Bubbles and When to Stop
If air bubbles into the cup during ordinary forward spraying, check the nozzle’s seating, the surrounding head parts, and any seals used by that design. Residue or damage can interfere with the assembly. Don’t respond by tightening everything harder.
Stop if you find a visibly cracked nozzle, a bent or stuck needle, damaged threads, or a part that won’t seat correctly. Replace a confirmed damaged component with the correct part, or get help identifying the fault. Repeating the same clean or increasing pressure isn’t a diagnosis.
For the final test, aim for a steady, controllable spray. On an independent dual-action brush, press down for air, pull back for liquid, move forward to stop the liquid, then release the air.
If you need support, include the model and nozzle size, paint and thinner, pressure while air is flowing, whether the needle moves, and whether test liquid sprays, drips, or doesn’t emerge. Add what changed before the fault appeared. Those details are more useful than “it doesn’t work.”
Bubbles point to a different check: look for air returning through the nozzle into the cup.