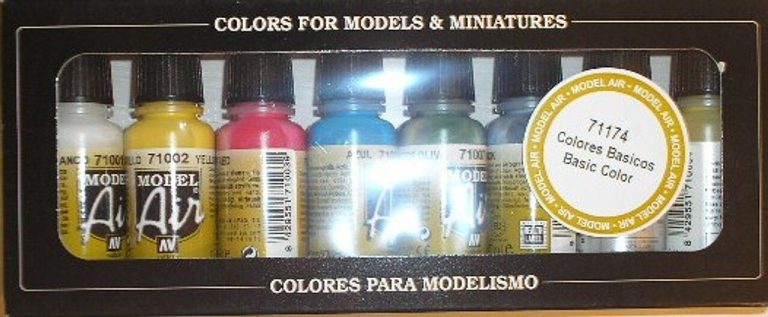
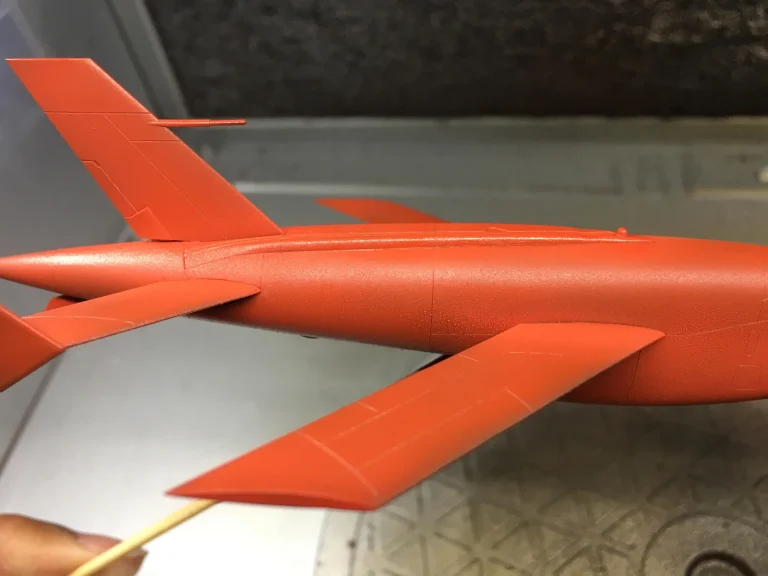
Here’s the short version for miniatures and scale models:
- Choose the thinner for your paint line. The word “acrylic” alone doesn’t tell you which liquid to use.
- Mix the paint in its bottle, then measure a small portion.
- Add thinner using a product-specific starting ratio. For optional thinning of Vallejo Model Air, for example, 3:1 means three parts paint to one part thinner.
- Stir until the mixture is uniform, including the bottom of the mixing container.
- Test a line and a small patch of coverage. Adjust one setting or ingredient at a time.
If the paint is airbrush-ready, test it straight from the bottle first. I start with the paint line and the job I want it to do, rather than assuming every color needs a 50:50 mix.
How to Thin Acrylic Paint for Miniatures and Scale Models
Set out your paint, its compatible thinner, a mixing tool, and a spare piece of primed plastic. A small mixing cup or a spare dropper bottle is useful if you prefer to prepare the mixture outside the airbrush.
1. Mix the paint before measuring it
Shake or stir the bottle until the settled pigment is mixed back in. Taking paint from the top of a poorly mixed bottle makes the result harder to repeat, even if you measure the thinner carefully.
Start with enough for a test and a small area of painting. A measured batch lets you correct the mixture without changing the whole bottle.
2. Add a compatible thinner and stir thoroughly
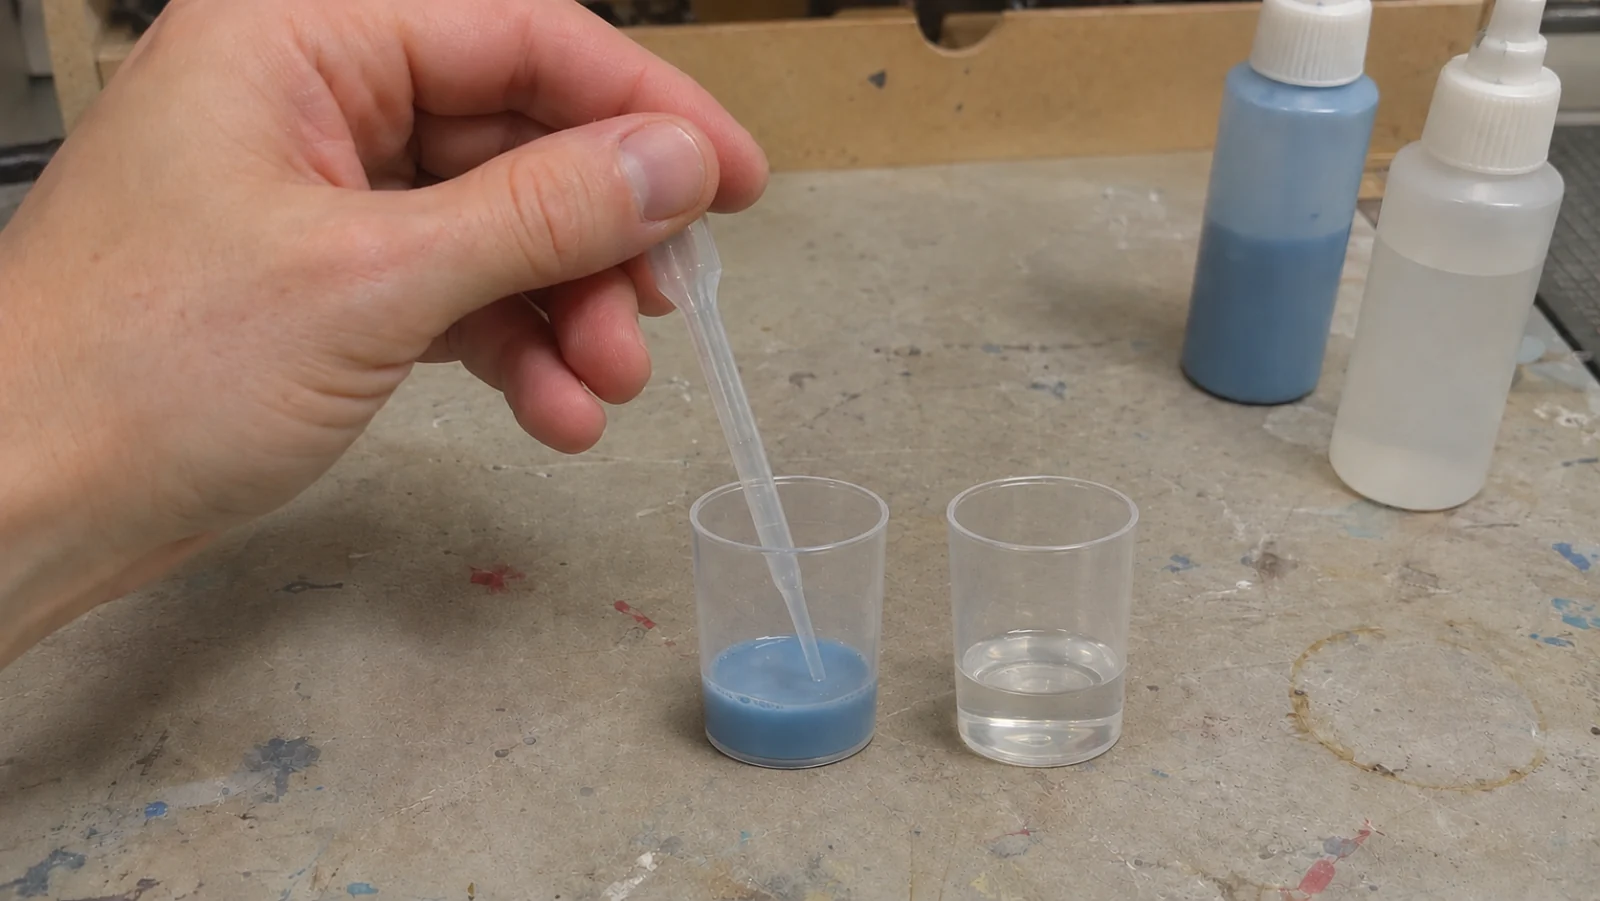
Use a starting ratio for that particular paint line, such as the examples below. If your paint is already formulated for airbrushing, first check whether it sprays well without thinning.
For the Model Air 3:1 example, 0.6 ml of paint plus 0.2 ml of Airbrush Thinner gives a small test batch. This is simply the manufacturer’s ratio scaled down. It isn’t a recipe for every acrylic paint.
Stir until the color is even, reaching the bottom and sides of the container. A thin-looking surface can hide thicker paint underneath. If you see lumps that won’t mix back in, set that batch aside rather than feeding them into the airbrush.
3. Test a line and a patch of coverage
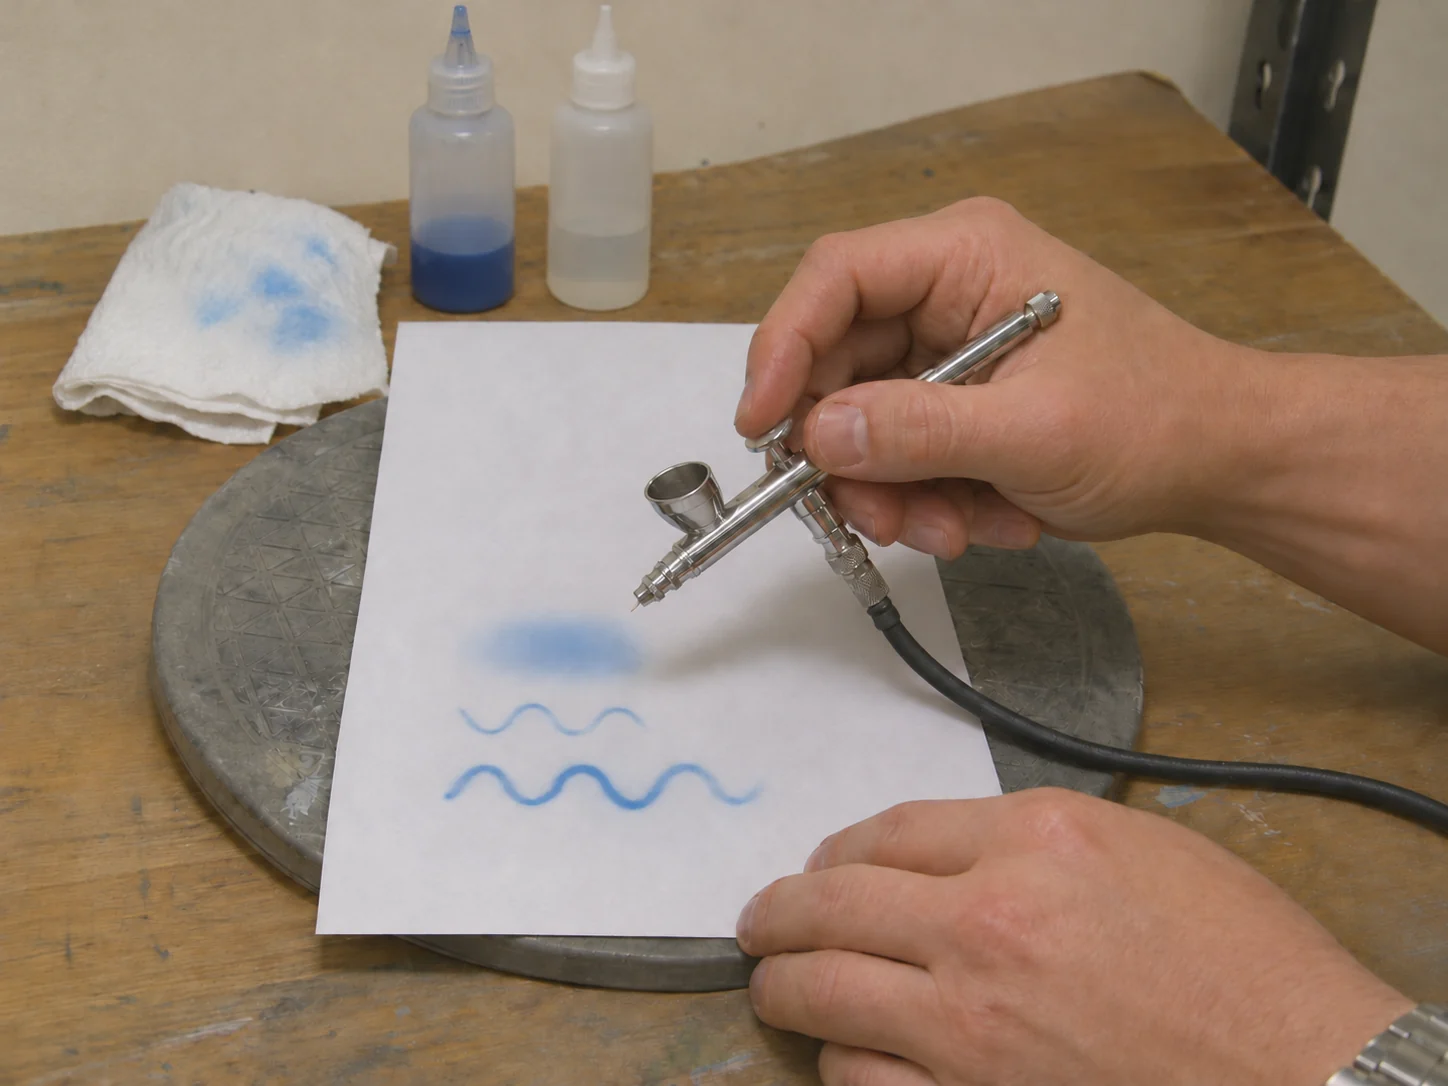
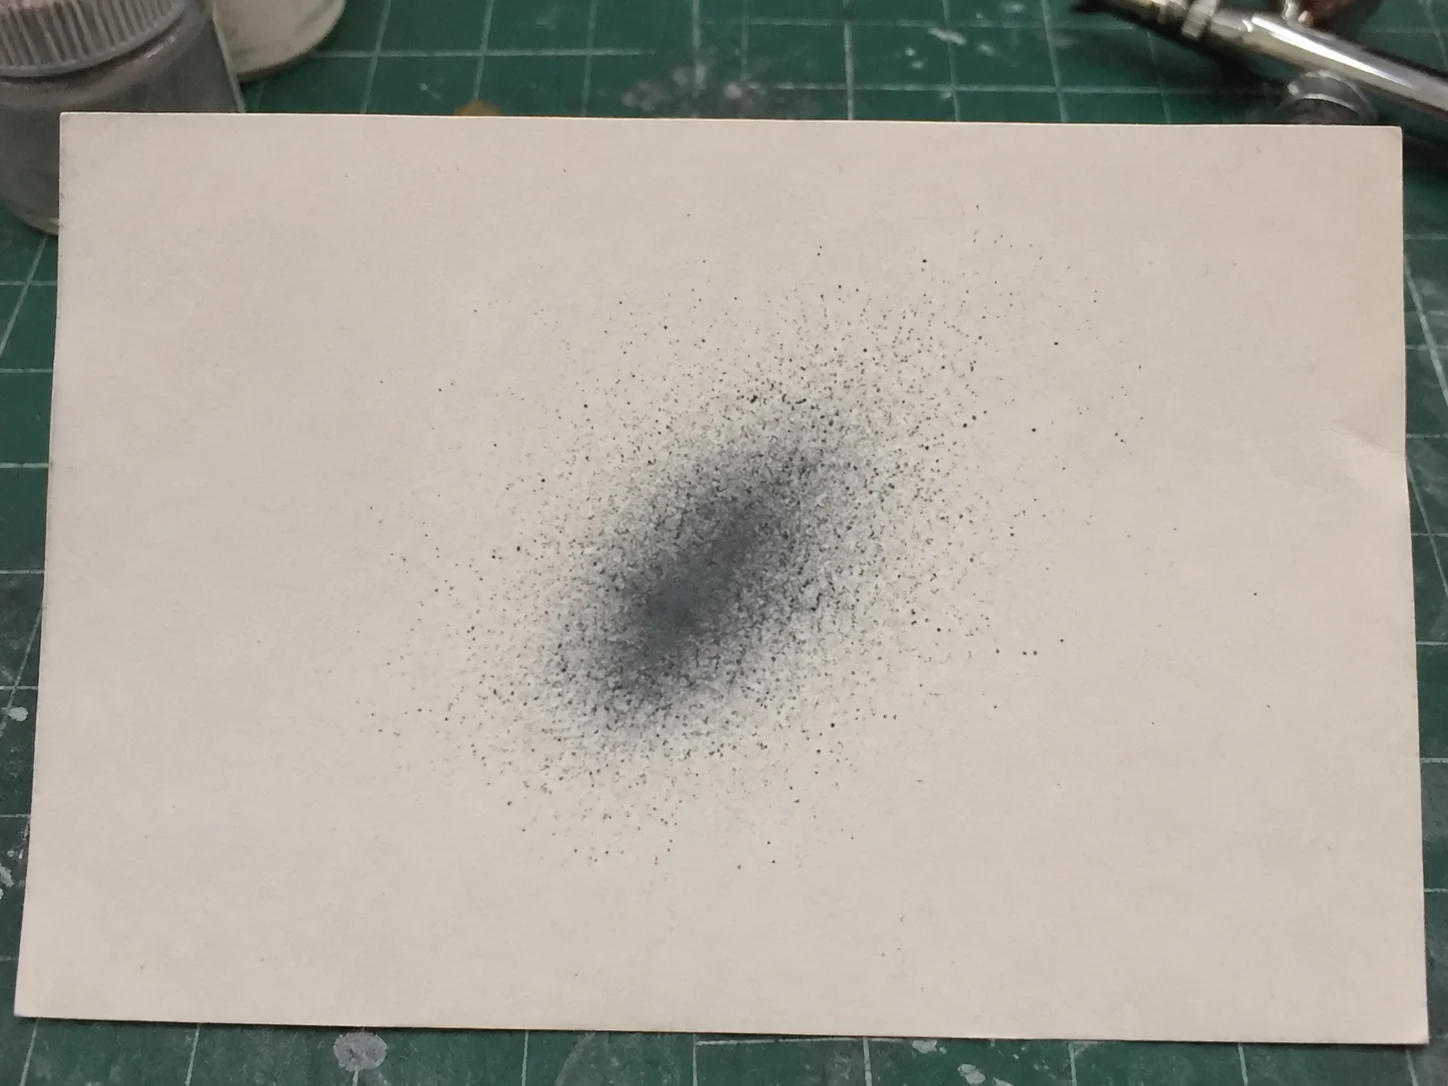
Use a spare part or plastic spoon prepared with the same primer as your model. Paper is useful for checking whether the airbrush sprays, but its absorbency can hide pooling that would show up on a model.
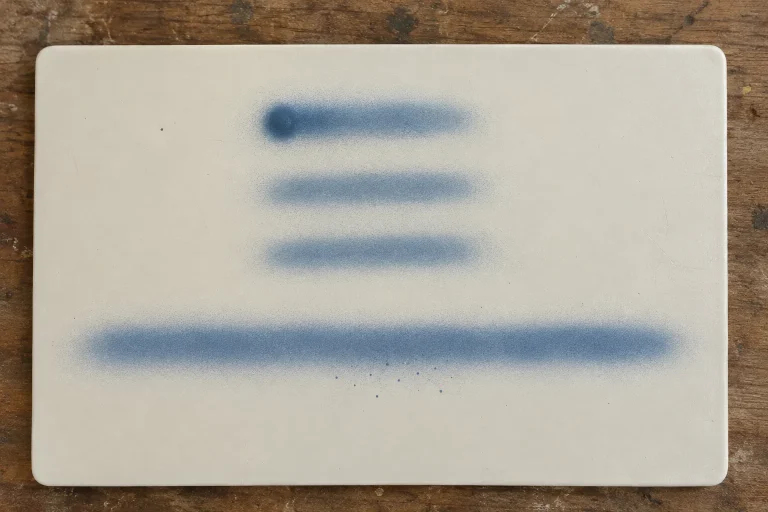
Spray a short line to check flow and control, then cover a small patch to see how the paint builds up. Keep your distance and trigger movement consistent during each comparison. A mixture may behave well for a broad base coat but need adjustment for close detail work.
Keep the mix fixed while you adjust working pressure so you can tell which change improves the spray.
4. Change one thing and test again
Use the troubleshooting table below to decide what to change. Adding thinner, lowering pressure, and moving closer all at once makes it difficult to tell which change helped.
For a clean airbrush that struggles to spray the mixture, a small addition of compatible thinner may help. For paint that sprays evenly but pools on the model, first reduce the amount of paint you’re releasing and check your distance.
Stop adjusting when you get steady flow and the coverage needed for the job. Record the paint, thinner, proportions, nozzle size, pressure, and intended use so you have a useful starting point next time.
Should you mix in the cup or separately?
Both methods work. Mixing in the airbrush cup is convenient for small amounts, provided you reach the bottom and mix thoroughly. Mixing in a separate container lets you inspect the mixture before loading it and makes larger measured batches easier to prepare.
For a beginner, a separate container can make the process easier to follow. Don’t rely on clumps settling to the bottom and staying there. Check the mixture before pouring it in.
What to Use to Thin Airbrush Paint
Choose the liquid for the paint system and product line, not just the brand name or the word “thinner”. Acrylic hobby paints, artist acrylics, enamels, and lacquers don’t all accept the same liquids.
Scroll sideways to see all columns
| Paint line or system | Where to start | Important distinction |
|---|---|---|
| Vallejo Model Air | Airbrush Thinner 71.261 if thinning is needed | Can also be sprayed straight from the bottle |
| Vallejo Model Color | Airbrush Thinner 71.261 | The Field Blue example below also uses Flow Improver; that doesn’t make it mandatory for every color |
| Tamiya Color acrylic | X-20A | A dedicated thinner for Tamiya acrylics, not a general thinner for all acrylic paint |
| GOLDEN artist acrylics | Water where suitable, or Airbrush Medium / High Flow Medium | The medium helps provide the properties needed for spraying; High Flow Acrylics are already ready to spray |
| Createx paints and clears | 4011 Reducer | Use the mixing directions for the specific Createx paint |
| Enamels and lacquers | A compatible thinner for that system | Water-based acrylic thinner isn’t a general substitute |
Thinner or reducer lowers viscosity. Flow improver addresses flow and drying behavior; Vallejo’s Airbrush Flow Improver, for example, helps delay paint drying on the needle. It doesn’t replace the need to get the base mixture right.
Airbrush medium can do more than dilute paint. GOLDEN’s Airbrush Medium and High Flow Medium also contain additives that help its acrylics work through an airbrush.
Cleaner isn’t automatically a thinner. Some products have both uses, including X-20A for Tamiya acrylics. That doesn’t mean a cleaner made to remove dried paint belongs in your painting mixture.
If you are deciding which additive to use, compare thinner with flow improver before changing the mixture.
Airbrush Paint Thinning Ratios
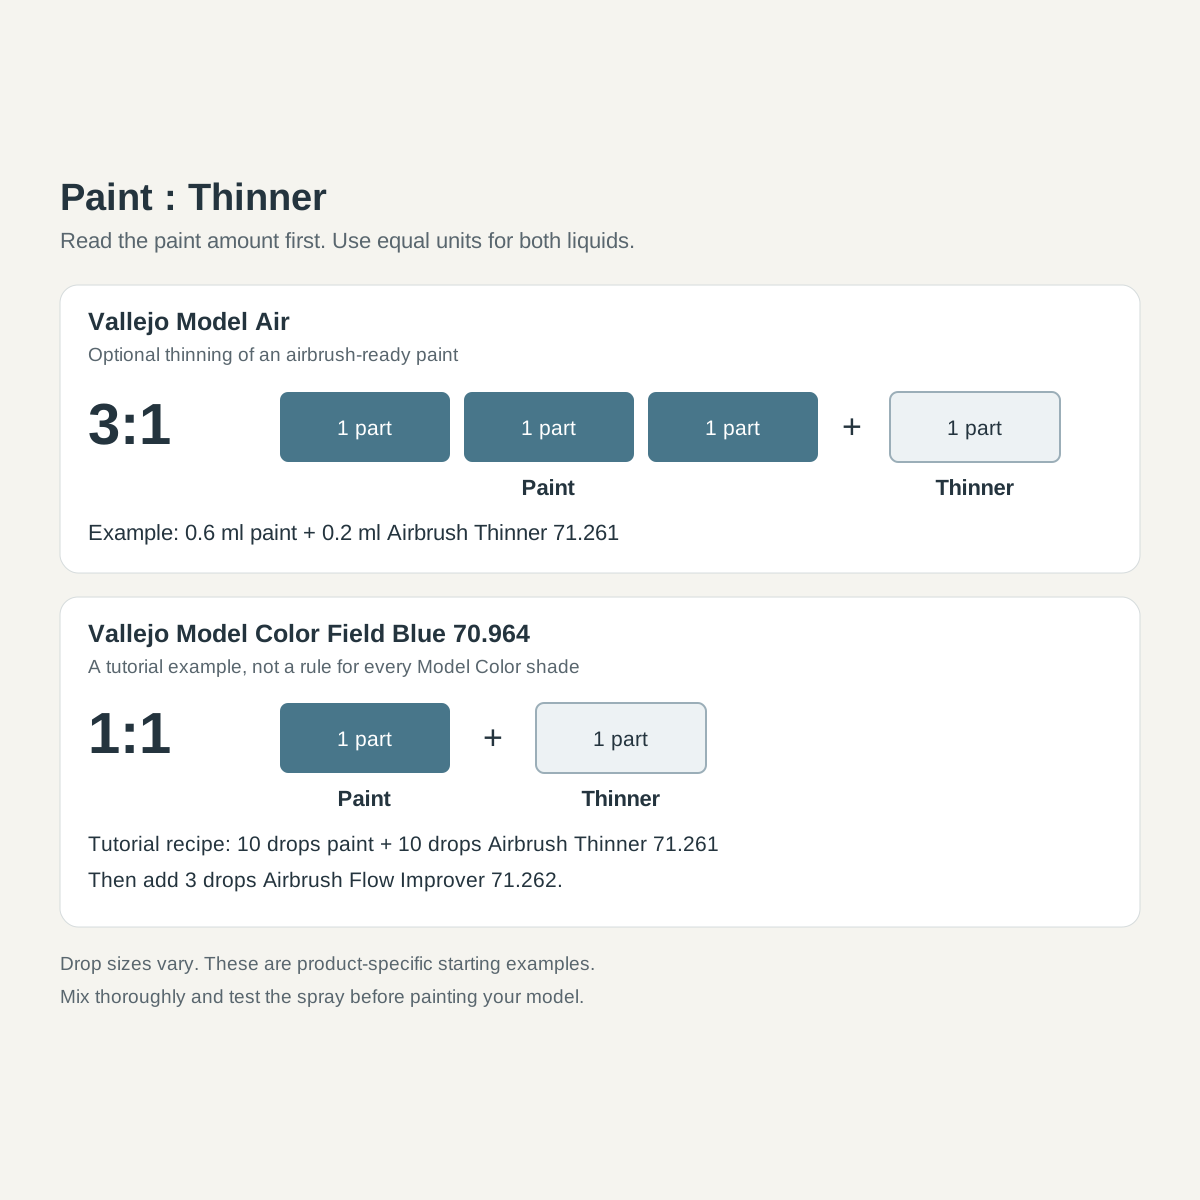
Read every ratio below as paint:thinner. A 3:1 mix contains three parts paint and one part thinner; 1:1 means equal parts.
Scroll sideways to see all columns
| Paint | Paint:thinner | Small-batch example | Scope |
|---|---|---|---|
| Vallejo Model Air | 3:1 | 0.6 ml paint + 0.2 ml Airbrush Thinner 71.261 | An optional thinning example for an airbrush-ready paint |
| Vallejo Model Color Field Blue 70.964 | 1:1 | 10 drops paint + 10 drops Airbrush Thinner 71.261 | The manufacturer’s tutorial also adds 3 drops of Flow Improver 71.262 per 10 drops of paint |
The Field Blue recipe describes one color in a specific tutorial. Don’t assume every Model Color shade, bottle condition, or formulation needs exactly the same mixture.
Drops are handy for small batches, but different liquids and droppers can produce different drop sizes. Use the drop recipe as a practical starting point, not a precise measurement of volume percentages. A graduated pipette is more useful when you want to record a mixture in milliliters.
If a recipe gives a percentage, check what it refers to. Adding 10% of the original paint volume is different from making thinner 10% of the finished mixture. Writing down the measured amounts avoids that ambiguity.
How to Tell If the Paint Is Thin Enough
A useful mixture gives you:
- Steady flow: paint comes out without repeated sputtering or large droplets.
- Control: you can place a line or patch where you intend to.
- Coverage for the task: a base coat builds opacity, while a filter or glaze can remain translucent.
The familiar comparison with milk is only a rough visual cue. It doesn’t tell you whether a particular pigment, nozzle, pressure, and surface will work together. I use the test pattern as the deciding check.
Don’t chase complete coverage in one pass. Several thin coats can give the result you want without flooding the surface. Some transparency is expected when you’re deliberately building color gradually.
Paint Too Thick or Too Thin
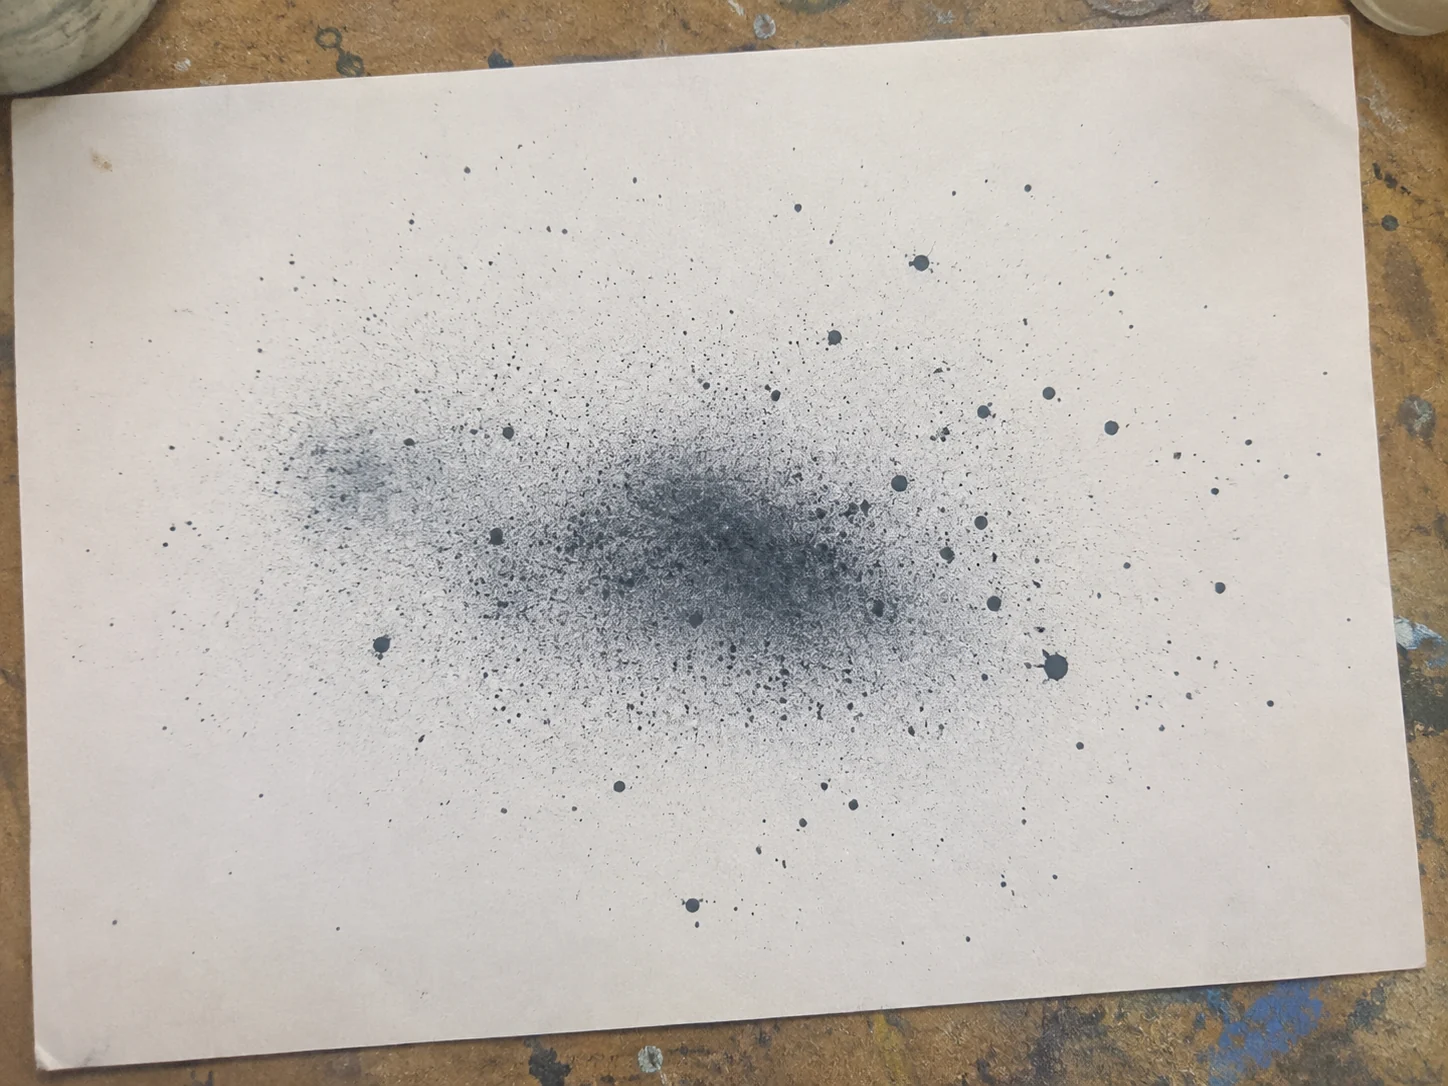
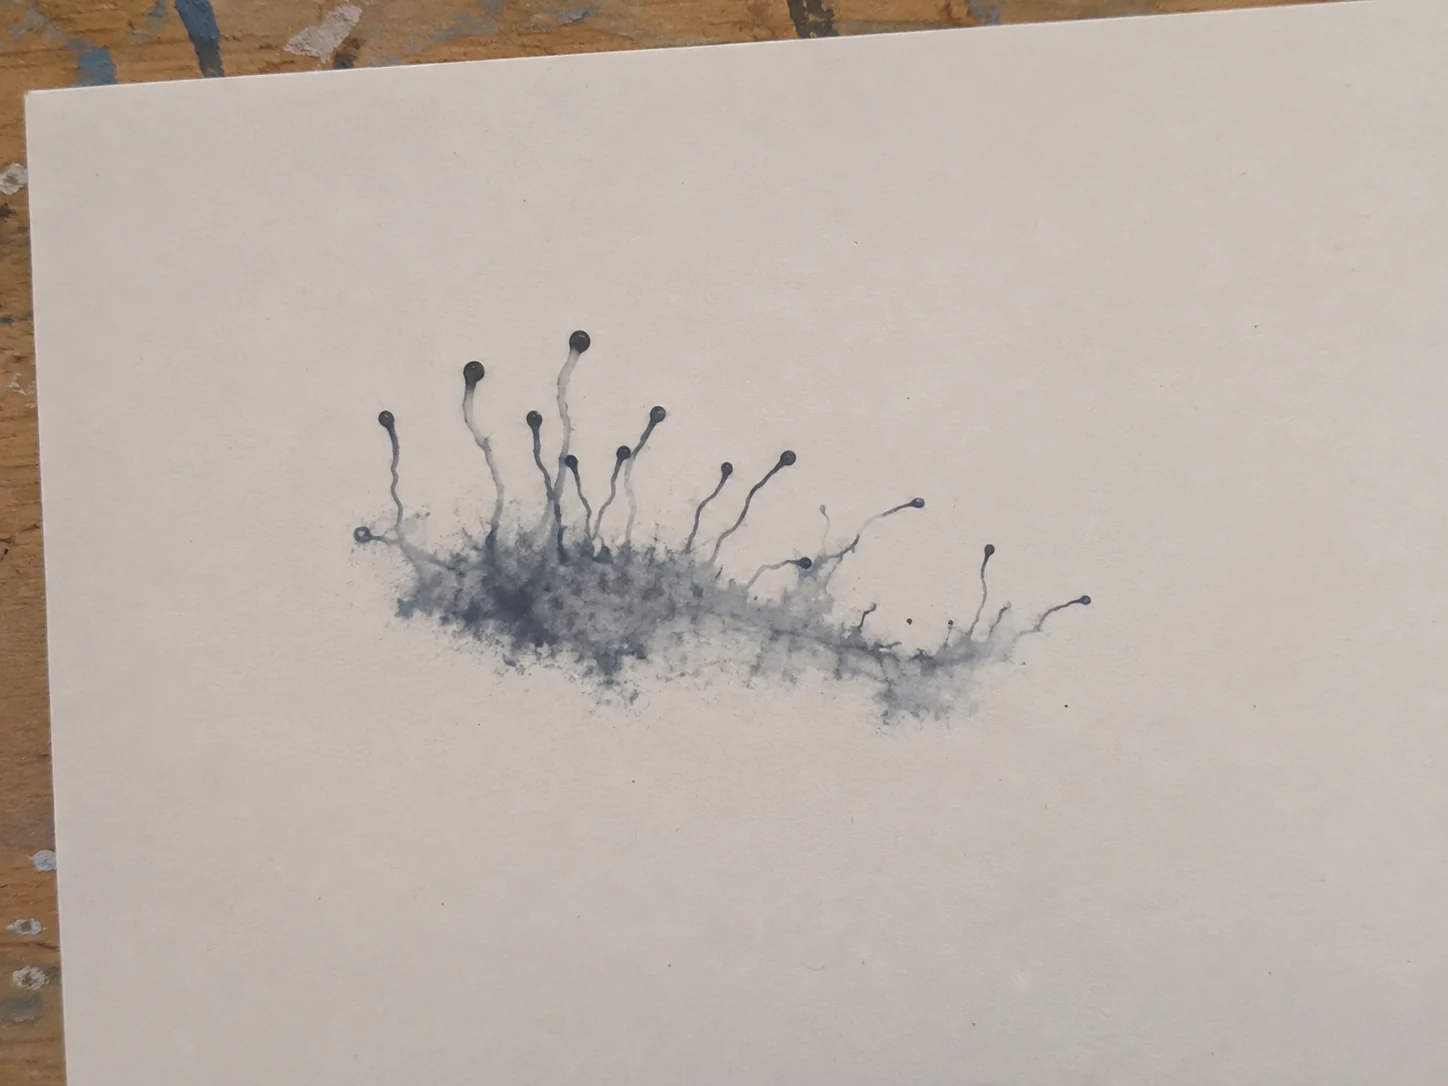
First identify what you mean by “splattering.” Large droplets leaving the airbrush are different from wet paint spreading into spider-like trails after it lands. Adding more thinner isn’t the answer to both.
On a typical independent double-action airbrush, pressing down releases air and pulling back releases paint. A large pull-back can flood a small area even when the mixture sprays well.
Scroll sideways to see all columns
| What you see | Possible causes | First check | What to try next |
|---|---|---|---|
| Large droplets, spitting, or intermittent flow | Thick paint, low pressure, dried paint on the tip, or a partial clog | Inspect the needle tip for dried paint | If the airbrush is clean, test a small addition of thinner or a small pressure increase, separately |
| Paint runs, pools, or forms spider-like trails | Too much paint, close spraying, a thin mixture, or excessive pressure | Release less paint | Test a slightly greater distance; then adjust the mixture or pressure if needed |
| Rough, dusty, or grainy coverage | Paint drying before it lands, excessive distance or pressure, or poor atomization | Check distance and the spray pattern | Move a little closer or adjust pressure, one at a time; check the mixture if the spray remains coarse |
| Little or no paint comes out | Air supply, needle movement, paint flow, thick paint, or a blocked/damaged nozzle | Confirm air is reaching the airbrush and the needle moves with the trigger | Check the needle clamp and paint supply before deciding whether cleaning or further thinning is needed |
Check the airbrush before changing the mixture
If no paint comes out, more thinner won’t help when the needle isn’t moving. Iwata’s troubleshooting guide lists a loose needle chucking nut and incorrect pressure among the possible causes, alongside thick paint and nozzle problems.
Work through the basic checks before removing small parts. If you find damaged parts or a persistent mechanical fault, treat that separately from paint mixing.
Distance, dry spray, and overspray
Moving closer concentrates the spray on a smaller area, so you may need less paint flow. Moving too far away can leave a dusty layer as paint dries before reaching the model.
Dry spray describes that dry, grainy deposit. Overspray is paint landing outside the area you intended to cover. Neither automatically proves that you need more thinner.
Orange peel has a dimpled appearance rather than a dusty one. Don’t treat every rough finish as the same fault. Compare the surface with your test patch and check how the paint is arriving before changing the recipe.
Fixing an over-thinned batch
Add a little more of the same paint to the small batch and mix, or prepare a fresh portion with less thinner. Keep track of what you add so the correction is repeatable. Don’t leave the mixture open to evaporate as a way of correcting it.
Can You Thin Airbrush Paint With Water or Without Thinner?
Water can work with some water-based acrylics, but making paint more liquid isn’t the only requirement. It also needs to flow and spray well.
GOLDEN allows thinning with water when the paint retains the other properties it needs for spraying. Where it doesn’t, the company recommends Airbrush Medium or High Flow Medium. That is guidance for its own products, not permission to dilute every miniature paint with water.
For a paint line with a dedicated airbrush thinner, that product is a straightforward starting point. If you want to use water instead, first establish that it suits the paint and try a small separate batch. Don’t replace enamel or lacquer thinner with water, or assume a household alcohol mixture will work with any acrylic.
Do Airbrush-Ready Paints Need Thinning?
Often they don’t. Products such as Model Air and GOLDEN High Flow Acrylics are formulated to spray from the bottle. Further thinning can still suit a particular color, nozzle, or technique, but it should solve a specific problem or serve an intended effect.
If the paint already sprays steadily and gives the coverage you want, there’s no need to add thinner just to satisfy a general recipe. Primers, varnishes, and metallics can have their own requirements, so don’t automatically apply the same mixture to all of them.
To spend less time preparing ordinary brush paint, compare the airbrush paint ranges for miniatures by palette and preparation.
Frequently Asked Questions
Can I airbrush ordinary brush or artist acrylic paint?
Some can be prepared for spraying. Model Color is one example of a brush-paint range that can be airbrushed after suitable dilution. For artist acrylics, a compatible airbrush medium may be needed. Adding water alone doesn’t guarantee that any thick acrylic will work through your nozzle.
Does a smaller nozzle mean I need more thinner?
A fine-detail setup often needs lower-viscosity paint, but nozzle diameter alone doesn’t give you a recipe. Pigment, pressure, and the coverage you’re aiming for also matter. Test the combination rather than assigning one ratio to every nozzle size.