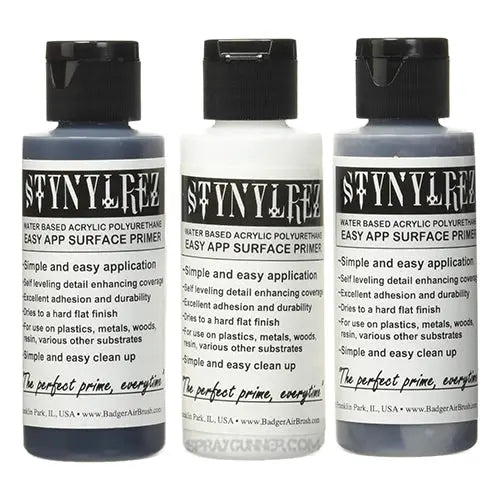
First, when is the paint coming off?
Before changing any products, I pin down the moment the damage appears. Start with the situation that matches your model:
- While you hold the model to paint. Fingers rub fresh layers that look dry but are still soft.
- During play. Edges, weapons, and bases scrape against hands, trays, and terrain.
- When you apply a wash. The liquid shading wash and brushwork disturb the airbrushed color underneath.
- When you remove masking tape or putty. The mask pulls on the coating, which may still be soft or weakly attached.
Each situation points to a different cause, so I keep them separate instead of reaching for one cure.
Find which layer is failing
Next, look at what is underneath the damage:
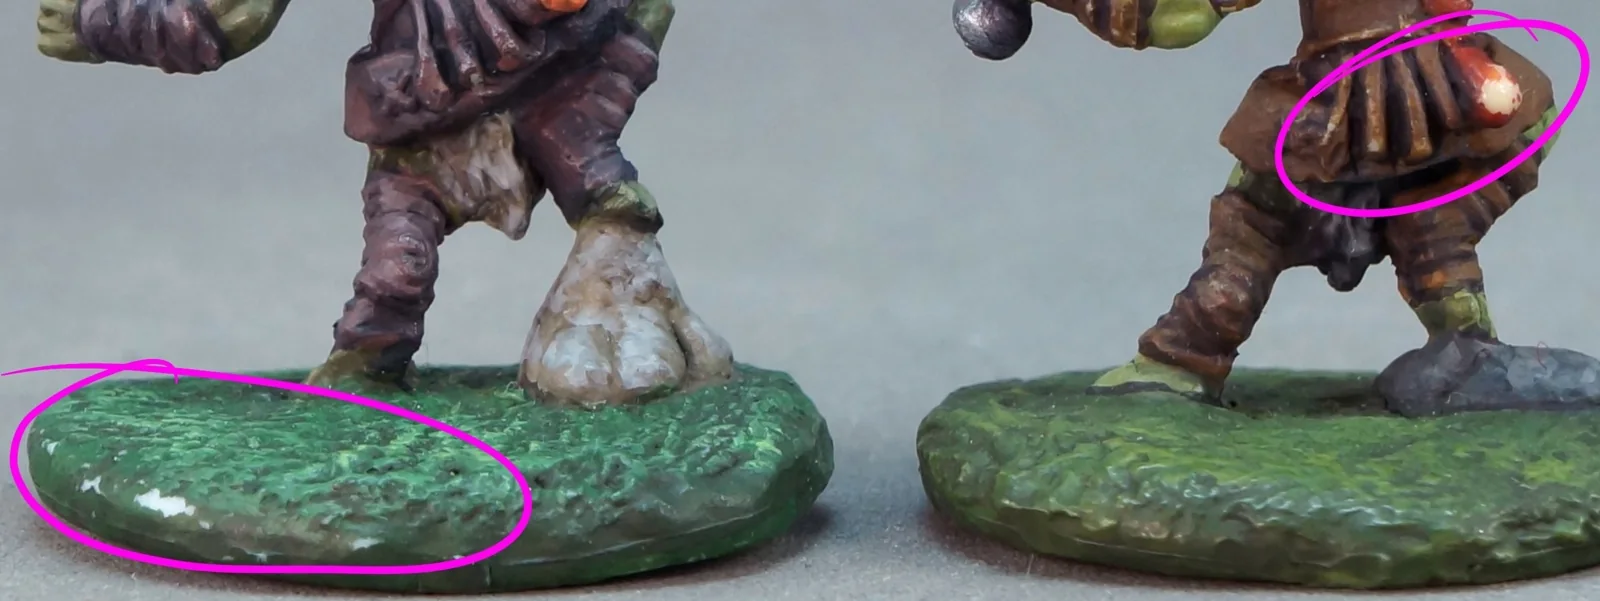
- Only the color is gone and the primer remains. Look at color-to-primer adhesion, film strength, and how the surface was handled.
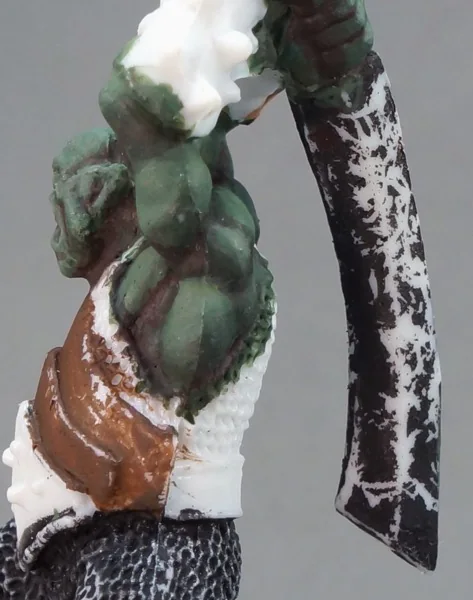
- Everything is gone down to bare plastic, resin, or metal. Inspect the bond at the model surface, contamination, and whether the coating was mechanically pulled off before it hardened.
- A dusty, chalky residue comes off on your finger. The paint may have dried in the air before landing, which leaves a loose, powdery film.
- The damage is only on raised edges and contact points. Contact wear may be the main cause, though a weak coating can wear faster too.
Don’t diagnose from appearance alone. Visible primer under a lifted color coat doesn’t prove the primer is sound, because it can still be weak or contaminated. I check gently in an area nobody will see before deciding.
Do not use a hard fingernail scratch as the deciding test. It can damage a usable paint job. What matters is whether normal handling or gentle brushwork removes paint after it has had time to harden.
Dry to the touch is not full strength
Surface dryness, readiness for another coat, and resistance to handling are different checks. A layer can accept the next color while still being too soft to grip with your fingers.
With Vallejo Surface Primer, complete drying takes approximately 24 hours. That does not mean a mandatory day between every color or wash, or the same drying time for other primers. Thick application and room conditions can change how the coating behaves, so check the surface rather than relying only on the clock.
So if paint rubs off where you grip the model mid-session, the simplest change is to stop touching the painted surfaces. A painting handle, a cork, or a pill bottle with some tack holds the model by its base. Subassemblies can go on a pinned wire stuck into a cork so you can glue them in place at the end. That keeps fingers away from the painted surface.
Handling, contamination, and a dusty coat
If the whole stack lifts down to the material, I look at surface prep first. Mold release, finger oils, or residue left on the model can sit between material and primer and stop a bond from forming. On bare plastic, a mild soap-and-water wash followed by a thorough rinse and complete drying is a useful starting point. For a partly painted model, keep cleaning local so you do not disturb sound paint.
Resin needs a distinction. Cast resin may carry release agent from the mold and need cleaning. Printed resin is a separate case, because incomplete washing or post-curing can leave a tacky surface. Follow the instructions for your resin and printer. There is no universal cleaning or curing time.
A powdery coat needs a different correction. Paint sprayed from too far away can land partly dry and leave loose material on the surface. Check whether gentle brushing removes dust while a firm layer remains. Then test a closer, better-controlled pass on spare plastic before touching up the model. Changing primer will not address dry overspray caused by the spraying setup.
Why a wash can lift an airbrushed layer
A wash can expose a weak airbrushed layer even when the primer stays in place. The thin liquid wets the surface while the brush adds friction, especially if you repeatedly work the same area.
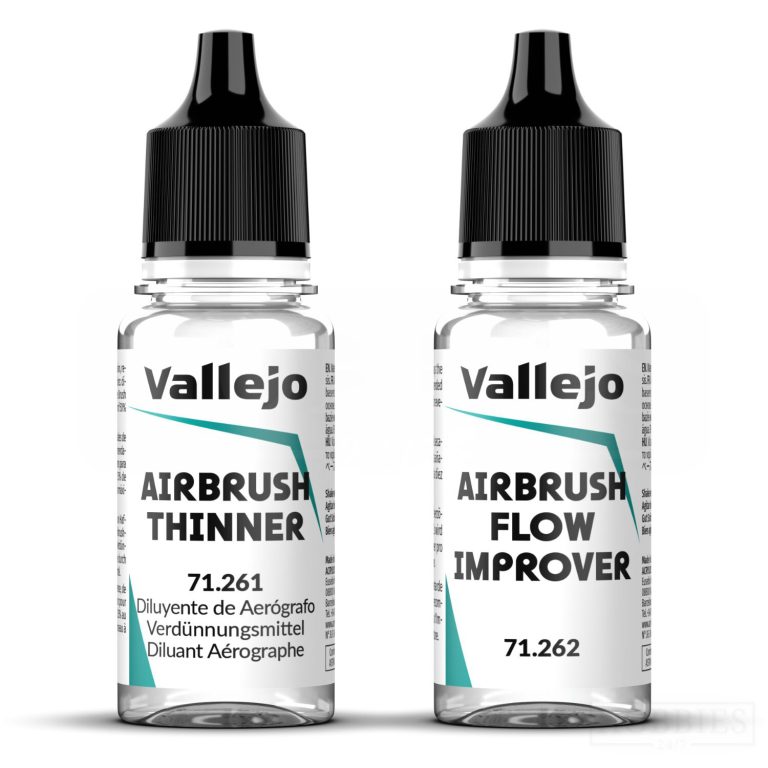
Give the color more time, use less liquid, and lay the wash down with fewer passes. If the problem appeared after changing your thinner or additive mix, prepare a fresh small batch with measured additions and test it separately. This tests the mixture without assuming that flow improver is necessarily the cause.
Keep thinner and flow improver separate in your thinking. Thinner adjusts the mixture for spraying; an additive addresses a particular flow or drying issue. Adding more of either does not make a paint layer stick better.
Once the color layer is firmly attached, a compatible varnish can provide an intermediate protective coat before further brushwork. Let the varnish dry sufficiently for overpainting before applying the wash. If the underlying color is already peeling, repair it first.
How to repair a small damaged patch
For a localized spot, I’d work in this order:
- Hold the model only by its base or handle from now on.
- Let the surrounding paint reach full strength before touching it.
- Gently check a hidden area to see whether the damage is spreading. Skip aggressive scratch tests.
- Brush away loose flakes and dust so nothing sits under new paint.
- Clean any exposed contamination on bare material.
- Spot-prime only where bare substrate shows.
- Rebuild the color in thin coats, letting each one set.
If the color lifted but the primer underneath is sound and clean, you may not need to prime again.
When varnish helps and when it does not
Varnish is a protective layer over paint that is already bonded. On a gaming miniature it can reduce wear from handling and from rubbing at contact edges. That makes it worth using on models that get handled a lot.
Varnish can’t glue loose paint down, though. If primer is flaking from the plastic, a clear coat seals over a weak foundation, and the whole stack can come off together. Fix adhesion first, then varnish.
Also, some edge wear on a well-loved army is normal. Occasional touch-ups after games are maintenance. Paint sliding off under light handling is a failure. These are different problems with different fixes.
When to strip and start again
Consider stripping when the coating remains unstable after adequate drying, primer lifts across large areas, or each repair exposes more loose paint. A fresh layer that is simply not ready for handling needs time before you make that decision.
Use a stripping method that suits your material, because plastic, resin, and metal don’t respond the same way. Check that the product you choose is safe for that material before applying it. Once the model is clean, start fresh with a clean surface, thin coats, and enough time between stages.