Quick pick
- Fewest variables: Badger Stynylrez or Pro Acryl PRIME 003 White. Both are meant to go into the airbrush without thinning.
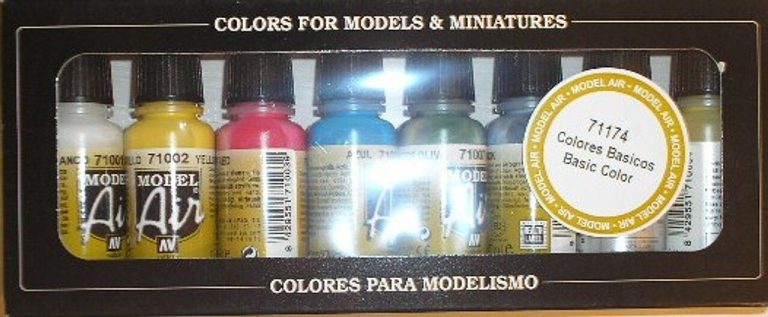
- Wide color range and flexible reduction: Vallejo Surface Primer.
Three primer lines
I would shortlist these three lines, then choose the color and application conditions that fit the job.
Scroll sideways to see all columns
| Primer | Best-fit task | How to start | Main tradeoff |
|---|---|---|---|
| Vallejo Surface Primer | General miniature priming when you want many colors and the option to reduce | Shake well and spray thin successive coats. If reducing, start from the directions on that particular bottle. | Allow about 24 hours for full cure before masking. |
| Badger Stynylrez | Spraying straight from the bottle with a larger nozzle | No thinning. Shake well. Start with a 0.5 mm or larger nozzle at 20–30 PSI and apply light coats. | A smaller nozzle may be harder to keep flowing. Allow 24 hours for full cure. |
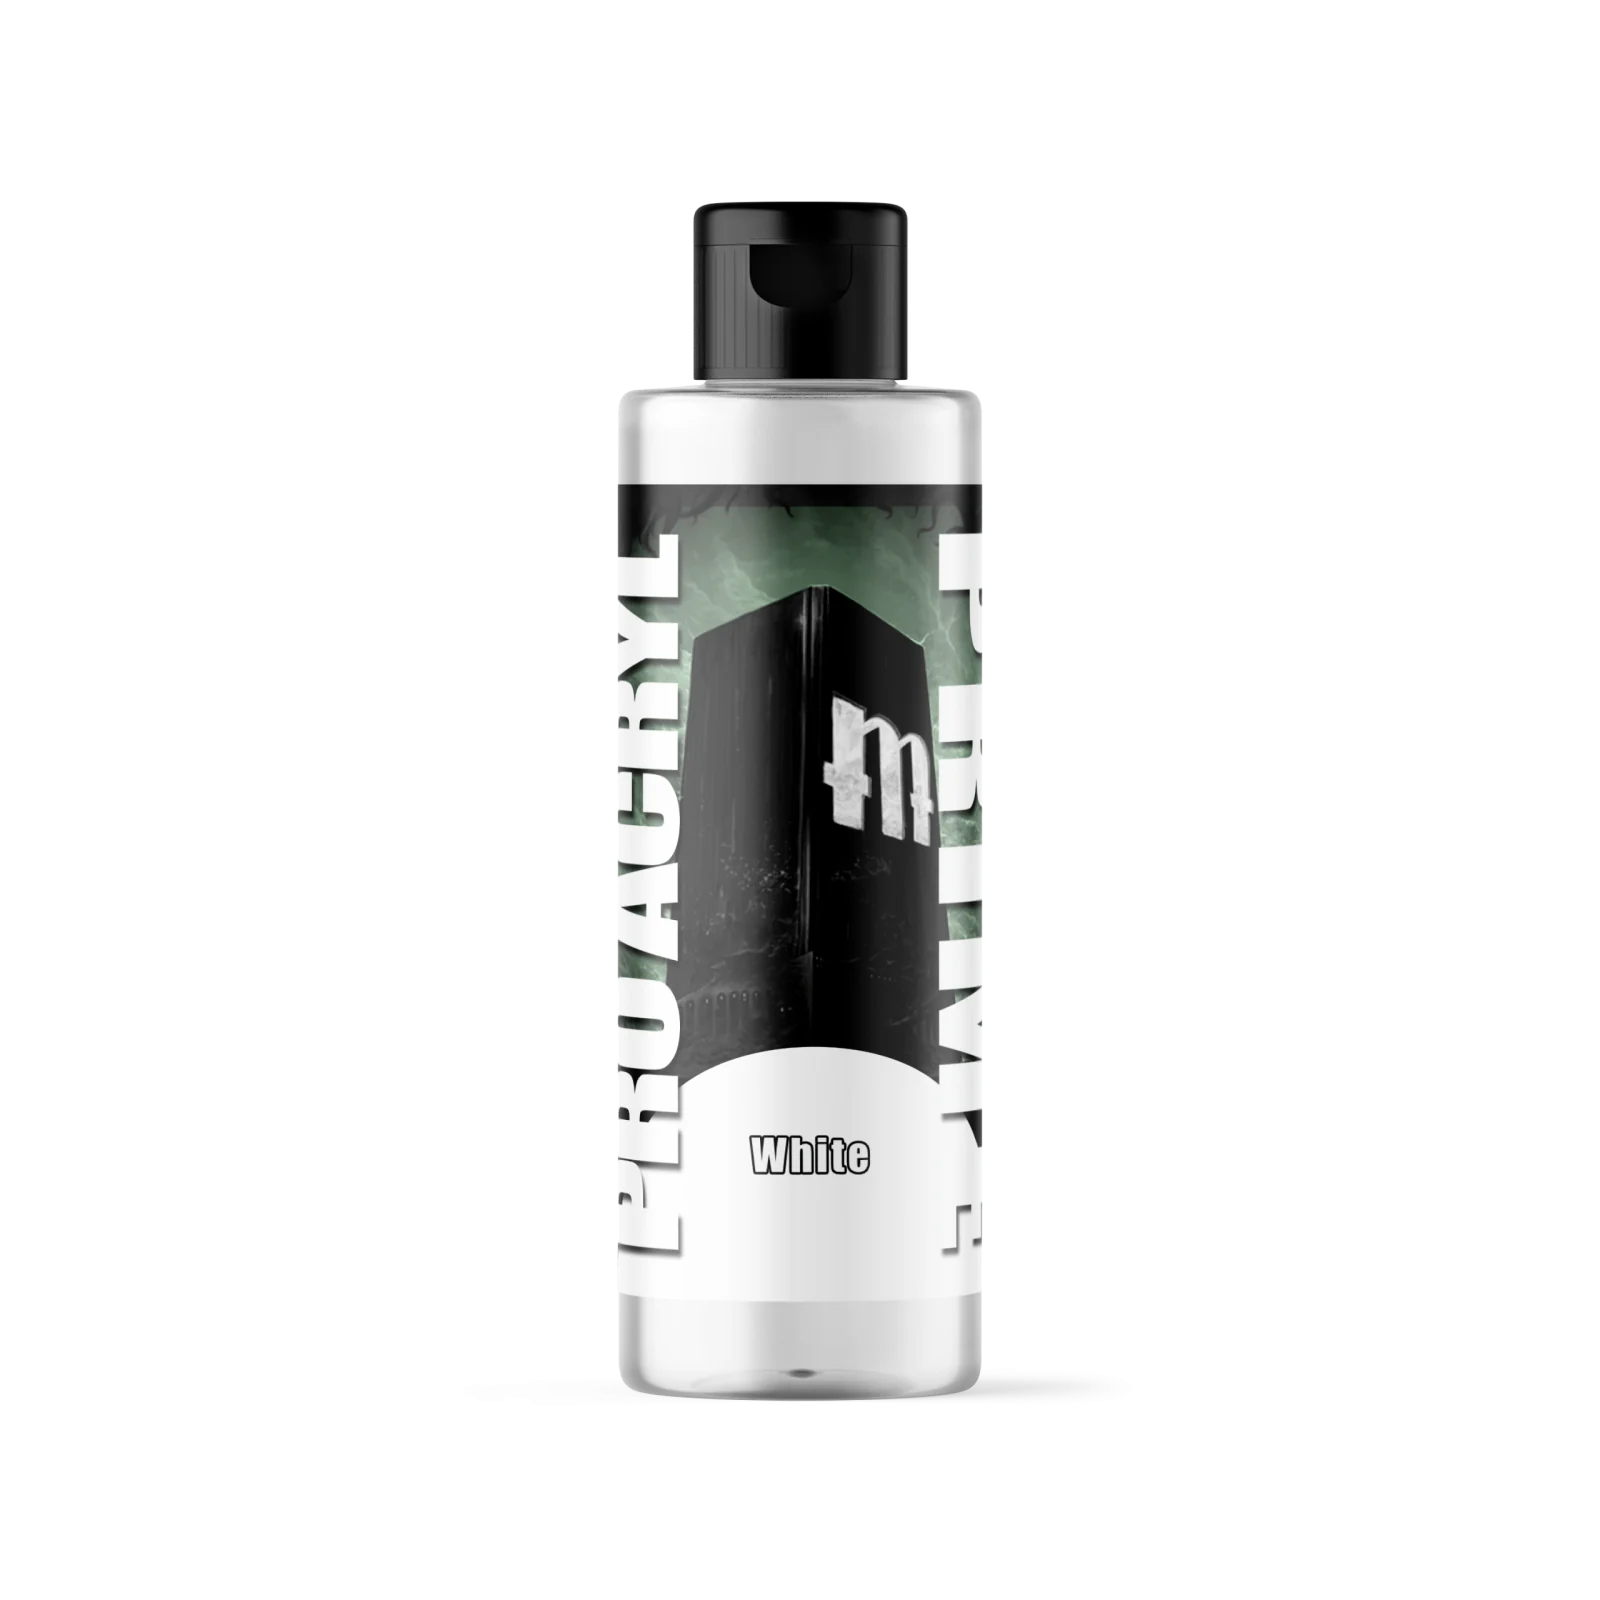
| Pro Acryl PRIME 003 White | White undercoat for bright schemes, ready to airbrush | No thinning needed. Light coats, then allow a full cure. | Choose the airbrush formula PRIME 003, rather than PRIME 013 Brush-On White. |
Pro Acryl PRIME 003 can also be brushed. That helps when you need to touch up a bare spot after assembly. Matching the touch-up color to your sprayed coat keeps the base even.
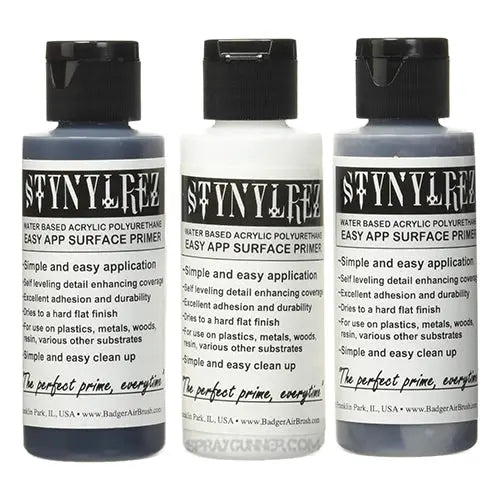
Black, gray or white
Your primer color sets the mood before any paint goes on.
- Black suits dark armor, grim metals, and shaded schemes. Recesses stay dark, so shading is partly done for you. Bright colors over black need more coats.
- Gray is the forgiving middle. It shows detail well, accepts both light and dark colors, and makes coverage gaps easy to spot.
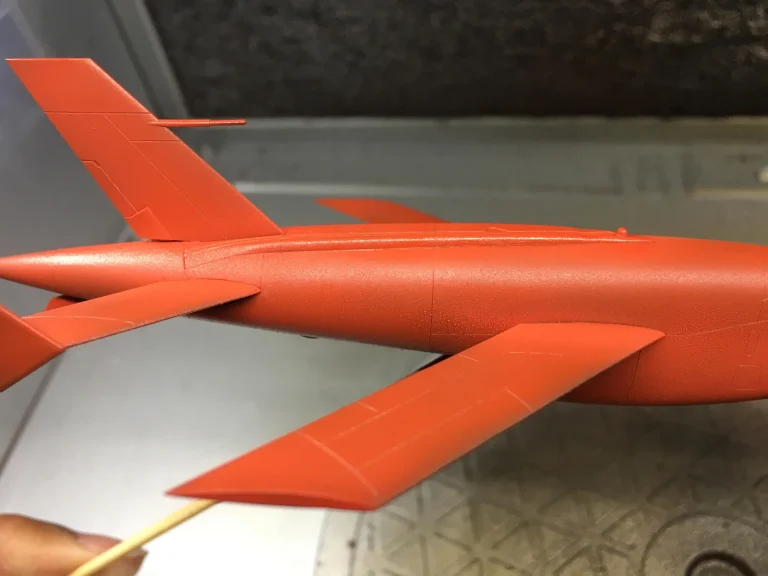
- White is best for yellows, oranges, reds, and pastels. Those colors look richest over a light base. A light coat keeps the sculpted detail visible; missed recesses may still need touching up.
If you’re unsure, I’d start with gray. You can also zenithal-prime: lay down black or gray first, then spray white from above to preview the lighting.
A small priming test
Before committing a whole squad, I like to run a short trial on a sprue offcut or a spare figure in the same material as the miniature. Here’s the workflow I’d suggest:
- Prepare the surface. Wash off mold release and finger oils, then let the piece dry completely. Resin prints are a special case. They must be washed and fully cured first, because uncured resin undermines adhesion.
- Spray light passes. Build coverage over several thin coats instead of one wet coat that floods detail.
- Wait until it’s surface-dry, then check. A surface-dry primer can be handled gently, but it isn’t fully cured yet. Treat the two stages differently.
- Wait for full cure before stress-testing. I allow about 24 hours for Vallejo Surface Primer and Stynylrez before masking. For Pro Acryl PRIME, follow the bottle’s curing directions. Test a small piece of tape on the scrap before masking the miniature.
This matters because no primer guarantees adhesion on every plastic, metal, or resin. A quick trial on your actual material tells you more than any label.
For the colors that go over the primer, compare miniature airbrush paint ranges by your army palette.
When primer peels or clogs
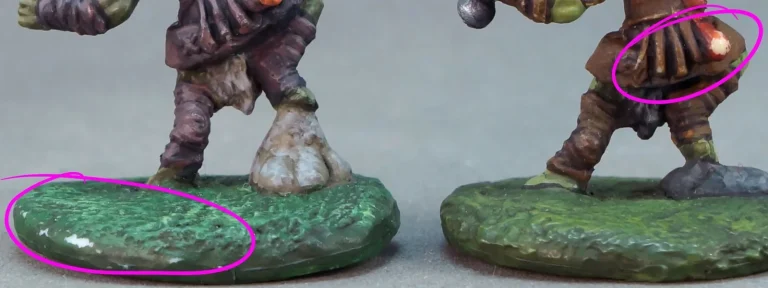
Peeling or lifting usually traces back to the surface or to timing. Common causes are residual oil or release agent, an uncured resin print, coats that were too heavy, or masking before full cure. Strip the affected area, clean and degrease again, and re-prime in thin coats. Then give it the full cure time before any tape touches it.
Clogging and tip dry come up often with fine nozzles. Primers are thicker than most paints. With Stynylrez, a 0.5 mm setup is a useful starting point; a smaller nozzle may require more frequent tip cleaning. A primer that allows reduction, such as Vallejo used per its label, can also help. Flush the airbrush promptly after each session, because primer that dries inside the nozzle is hard to remove.
Water-based doesn’t mean harmless to breathe when it’s atomized. Spray with ventilation and a suitable respirator every time you prime.
Settle on a primer line, choose your color by the scheme, and test on a spare piece before priming the full batch.
For a recurring blockage, check tip dry and the fluid path before buying another primer. The nozzle size guide can help match the opening to the material.