The quickest way to find the cause
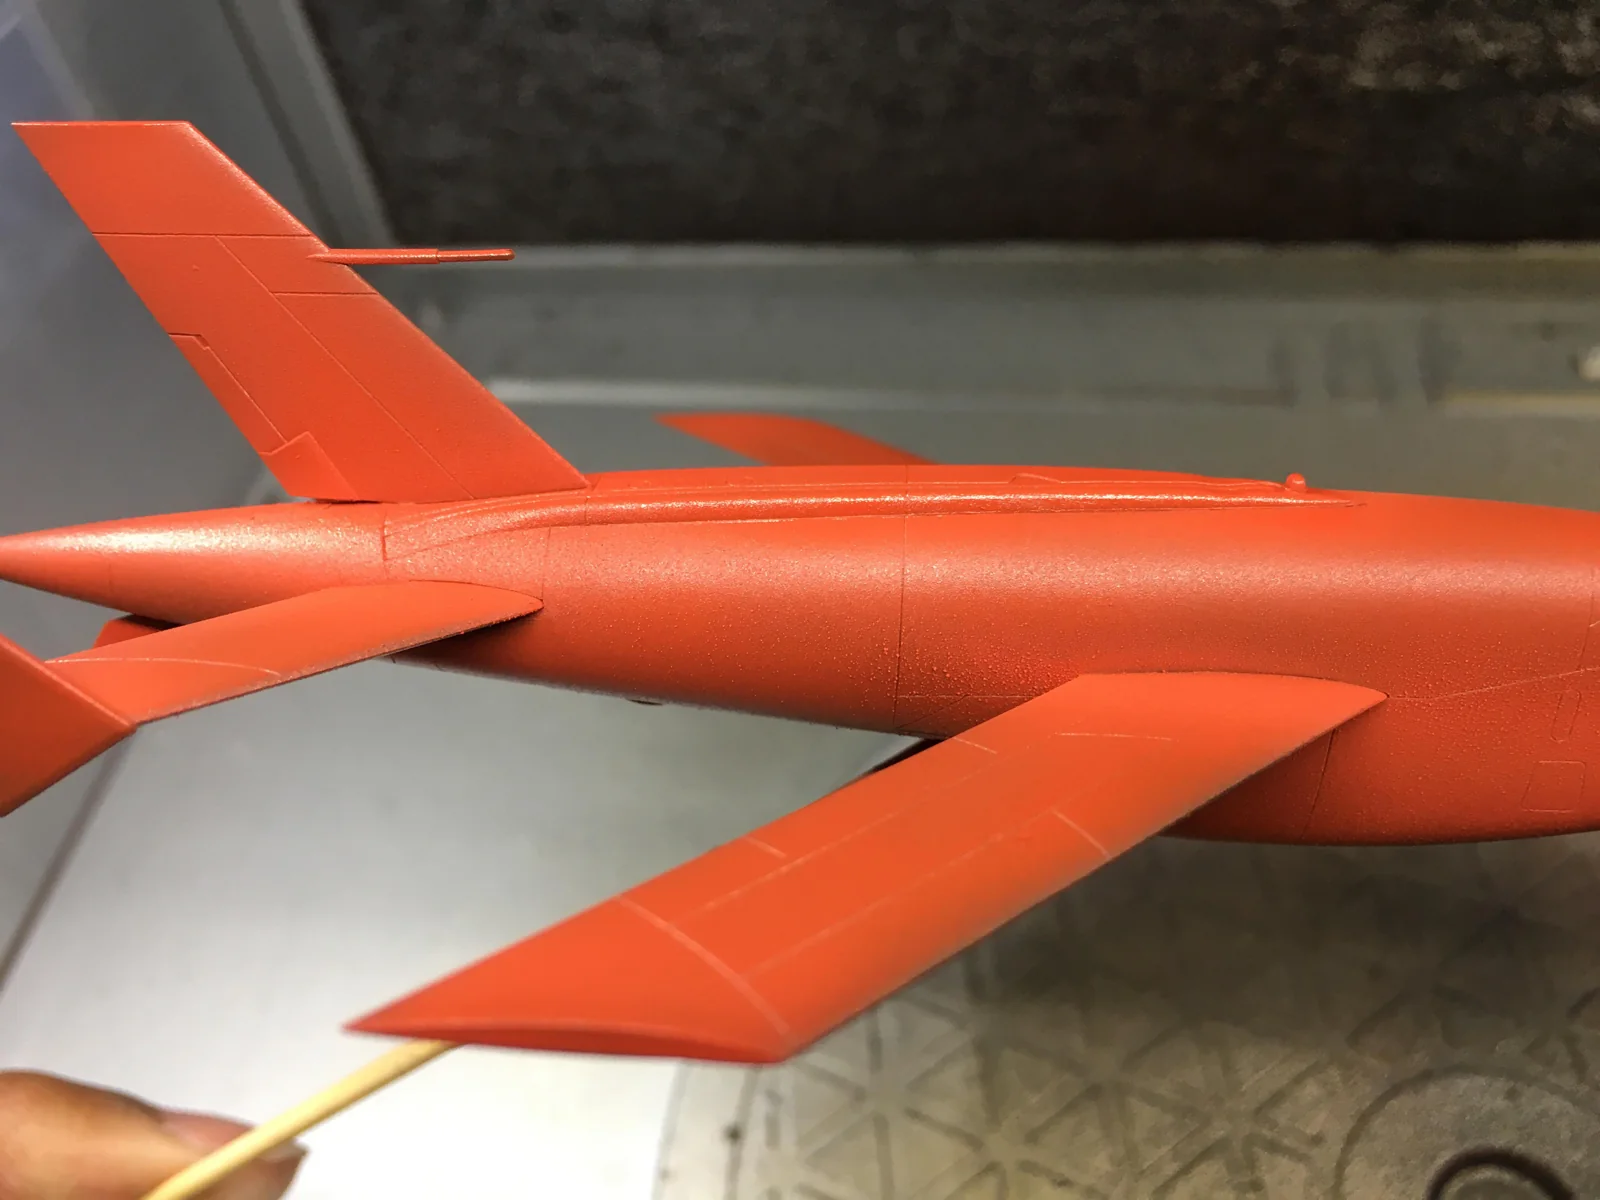
Look at the model under light from the side. Check an area that still has only primer, then compare it with the rough color coat. Wait until the film has hardened before checking its feel on an inconspicuous area.
Scroll sideways to see all columns
| What you find | Next test | What the result can tell you |
|---|---|---|
| Primer was already rough | Compare a primed area that has no color | The texture began underneath the color coat |
| Dusty surface, especially far from the nozzle or around pass edges | Move closer on spare plastic while keeping the mixture unchanged | A smoother patch points toward dry spray |
| Distinct coarse droplets that land wet | Check tip cleanliness, then test a small mixture or pressure adjustment | Better breakup points toward an atomization problem |
| Roughness mainly in corners and recesses | Change the angle and paint one surface at a time | Air movement and overspray may be contributing |
| Random hard specks | Check the mixed paint, bottle neck, and cup for debris | Dried flakes or contamination may be in the paint |
| One color fails while another works | Mix and test that color separately | The previous mixture may not suit this paint |
A few speckles around a thin line on paper do not, by themselves, establish that the model has a gritty coating. Judge the dried film on a prepared surface as well as the spray pattern.
Dust, droplets, or texture underneath?
Dry spray looks powdery or fuzzy. Some of it may come away with a gentle brush once dry. It often appears at the edges of a pass or on surfaces farther from the nozzle.
Coarse spray arrives as visible droplets that leave a pebbly surface. Thick paint, insufficient working pressure, dried paint on the tip, and a dirty cap or nozzle can all interfere with how the paint breaks up.
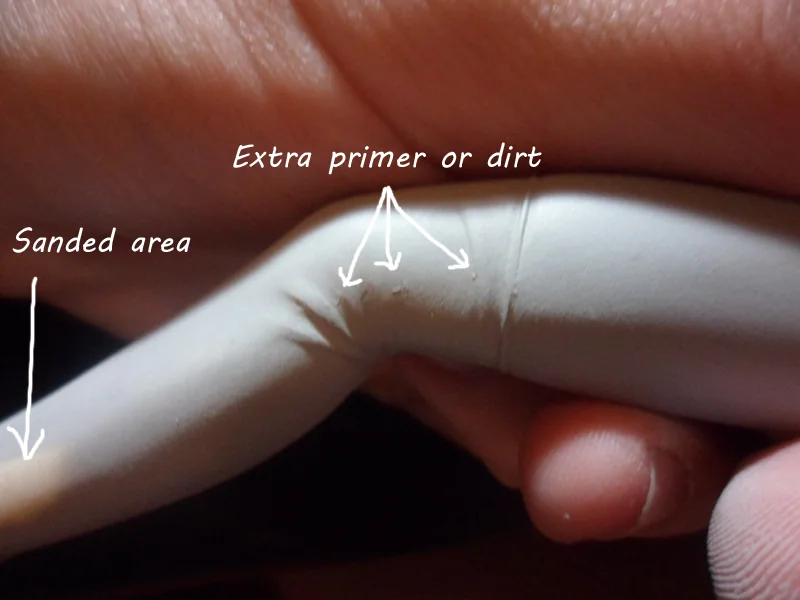
Texture underneath remains visible through later layers. A rough primer coat needs attention before color goes on. Adding paint to hide it usually builds thickness while leaving the bumps in place.
A matte finish can look dull while still being smooth. Flat sheen alone is not a defect that needs sanding or another wet coat.
When the paint dries before it lands
Paint needs to reach the model wet enough to form a coherent layer. Too much distance gives fine droplets more time to lose their liquid carrier. Hot, dry conditions can make the same mixture behave differently from one session to the next.
On spare plastic, shorten an excessive spraying distance while keeping the mixture and pressure unchanged. Make a light pass and watch the surface. It should look briefly damp and even, without liquid collecting in recesses. Do not keep adding paint to force a dusty coat wet.
If moving closer improves the surface, carry that change over to the model. If paint starts to pool or form spider-like runs, reduce paint flow rather than backing away so far that it turns dusty again.
An unnecessarily high airflow can contribute to a dry pass, so a modest pressure reduction is another test. Keep enough air to break up the paint properly. Lowering PSI until the brush spits trades one defect for another.
A compatible retarder can help when drying is the remaining problem, but use a product intended for the specific paint system. Water-based miniature acrylics, Tamiya alcohol-soluble acrylics, and lacquers do not all use the same thinner or retarder.
When the spray is too coarse
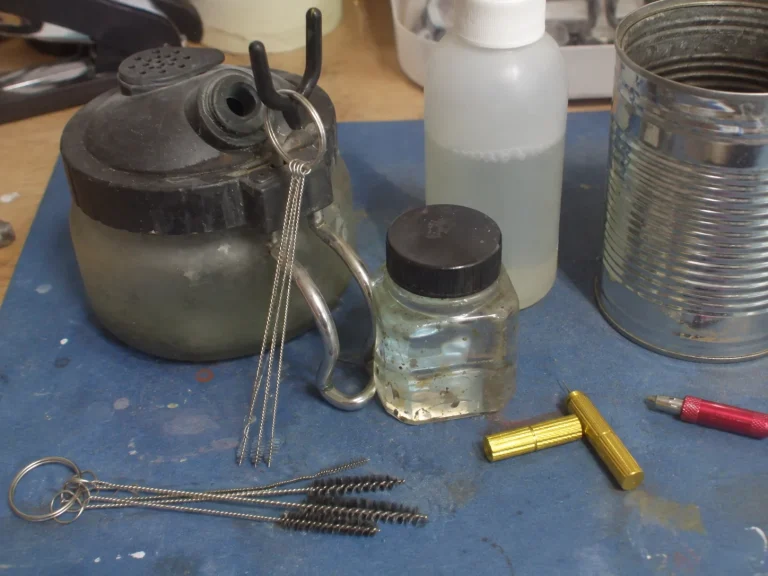
Start with the needle tip and the front cap. If dried paint is disrupting the pattern, clean that deposit before adjusting a mixture that may already be suitable.
For paint that still comes out in coarse droplets, make a small separate batch with a little more compatible thinner. Mix it thoroughly, then repeat the same test. If the pattern remains coarse, try a modest increase in working pressure while air is flowing. Make one adjustment at a time so you can tell what helped.
If thinning produces weak, watery coverage without improving the spray, stop adding thinner. Check the air supply, cleanliness, and whether the fitted needle, nozzle, and cap are the correct combination.
Different colors can need different mixtures even within one range. A successful black basecoat does not establish the best mix for the next white, yellow, or metallic.
Why corners and recesses are worse
Spraying into a confined corner can send air and overspray across the neighboring surfaces. Paint that misses the intended area can settle as dry dust elsewhere. On miniatures, look for this under arms, between legs, around cloak folds, and where a vehicle panel meets another panel.
Rotate the model and approach the recess from an angle that gives the spray a clearer path. Paint the adjoining surfaces separately instead of flooding the corner from far away. Keep the passes light enough that paint does not collect in the deepest part.
Test on spare plastic, not only paper
Paper is useful for spotting an uneven pattern or occasional large spit. Its absorbency makes it less useful for judging how a coating levels or pools on a model.
I would use a spare part or piece of plastic prepared with the same primer as the miniature. Check that the primer is smooth, spray a small patch, and let it dry before judging the result. Keep one patch unchanged as a comparison while testing the next adjustment.
A smoother test patch after moving closer suggests dry spray. A finer pattern after thinning or increasing working pressure suggests poor atomization. If several sensible adjustments make no difference, return to cleanliness, air delivery, and the underlying surface.
Can you save the rough coat?
Stop spraying and let the coating harden first. Then gently remove any loose dust with a clean, soft brush. If the remaining surface is smooth and firmly attached, a light color touch-up may be enough.
If paint rubs off or lifts rather than just feeling rough, check which layer is failing before sanding or repainting.
For a small firmly attached rough patch on a broad surface, careful hand smoothing with a fine abrasive may help. Work locally and stop before changing the sculpted shape. Faces, sharp edges, and textured details are poor places to sand. Try the method on a spare part first.
Heavy grain, unstable primer, or texture packed into fine detail may need removal and repainting. A fresh color coat or varnish generally follows the existing bumps rather than erasing them.
Do not try to melt a rough water-based acrylic coat smooth with pure solvent. A solvent that levels a particular lacquer finish can damage another paint system or the model beneath it. Keep repair products specific to both the coating and the model material.
What I would change for the next coat
Choose the next adjustment from the symptom. Move closer for a dusty pass, improve paint breakup for coarse droplets, change the angle for overspray trapped in corners, and repair a rough primer before adding color. Test the change on prepared plastic, then repeat the successful setup on the model.