What “needle size” actually means
When someone says “a 0.3 airbrush” or “a 0.3 needle,” they are almost always naming the matched setup: the nozzle opening and the needle made to seat in it. They are not describing the diameter of the needle shaft. The needle, nozzle, and nozzle or air cap work as one system. The needle’s taper, the nozzle’s shape, and the cap geometry all influence how paint starts flowing and how the spray widens as you pull back on the trigger.
That is why a nominal size is not a guaranteed line width. Two airbrushes labeled 0.3 mm can feel different, because needle taper, nozzle length, cap design, trigger travel, and paint passage all vary between designs. Paint viscosity, cleanliness, pressure, distance, and technique then shape the result further.
The general pattern still holds. Smaller setups favor controlled amounts of thin paint. Larger setups favor moving more paint, or thicker paint, with less fuss.
Which size fits which job
Scroll sideways to see all columns
| Setup | Good jobs on miniatures | Tradeoffs |
|---|---|---|
| 0.2 mm | Small highlights, freehand-style detail, tight glazes, softening transitions on faces or cloaks | Less tolerant of thick or coarse paint, dried residue, and sloppy cleaning. Slow for priming or large basecoats. Rewards careful thinning. |
| 0.3 to 0.35 mm | Mixed work: priming many products, basecoats, zenithal highlights, blends, moderate detail | A useful middle ground. Heavy primer may still need a larger setup; very tight work depends on the particular head design and paint preparation. |
| 0.4 to 0.5 mm | Priming, basecoating, vehicles and large models, thicker paints, batch work | Handles greater paint flow. Fine work is still possible with small trigger movements and close distance; opening the trigger fully can put down too much paint for a small figure. |
0.3 vs 0.5 airbrush needle
This is the comparison most miniature painters actually face, and it depends on whether you are comparing within one airbrush family or across different designs.
Within the same airbrush family, swapping from a 0.3 setup to a 0.5 setup generally gives you more paint flow and better tolerance for thicker material. The larger matched setup can make priming and basecoating easier, but does not prevent tip dry or dried-paint blockages. The body and trigger feel stay the same, making the difference easier to judge.
Across different airbrushes, the label tells you less. A 0.5 mm setup on one design may feel more controllable than a 0.3 mm setup on another, depending on taper, cap design, and trigger feel. Comparing “0.3 vs 0.5” between two unrelated airbrushes really means comparing two complete tools.
In practice, several factors often decide results more than the label does:
- Thinning. Paint that is too thick for the setup sputters or clogs. Paint that is too thin spiders and runs. Both happen at every size.
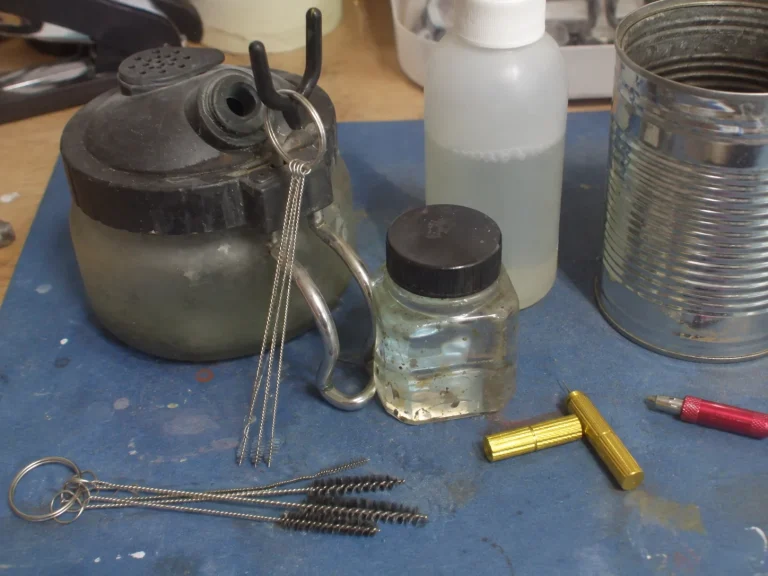
- Tip dry. Paint drying on the needle tip narrows and disrupts the spray, which can make any airbrush seem worse than it is. A small opening leaves less room for dried residue.
- Distance and trigger control. Moving closer and pulling back less produces finer marks on a larger setup. Spraying from too far or opening the trigger too much makes a fine setup throw a broad, dusty pattern.
If your 0.3 setup feels unable to do detail, check those first. A smaller nozzle won’t fix paint that is drying on the tip.
0.2 vs 0.3 airbrush
A 0.2 mm setup supports finer control with thin paint. That can help place small highlights and tight transitions. For sharply defined edges or eyes, a conventional brush may still be the simpler tool. It is not required for miniatures.
A 0.3 setup can still do reasonably fine detail, is more forgiving of thinning mistakes, and handles basecoats and primers better. A 0.2 can lay down broader coverage when the paint is thinned well and the trigger is opened up, but it gets slow and fussy for big areas. It also makes cleaning and paint choice matter more.
A reasonable path: start with 0.3 to 0.35, learn your paints, and add a 0.2 later only if your work keeps running into control limits that technique isn’t solving.
Nozzle size for priming miniatures
There is no universal primer size. Primer requirements are product-specific. Some airbrush primers spray well through mid-size setups. Others are thicker or have coarser solids and behave better through larger openings, which is why many painters prefer 0.4 or 0.5 for priming. Thinning is not an automatic substitute for a larger nozzle, especially with primers that have specific application requirements.
I would choose the primer and nozzle together rather than buy a small nozzle and try to make every primer fit it. If a primer clogs your mid-size setup even when prepared as directed, a larger setup is a reasonable answer. If it sprays cleanly, you don’t need a dedicated priming airbrush.
Choose the material and nozzle together: the primer comparison separates formulas with different application requirements.
Can you change airbrush needle size?
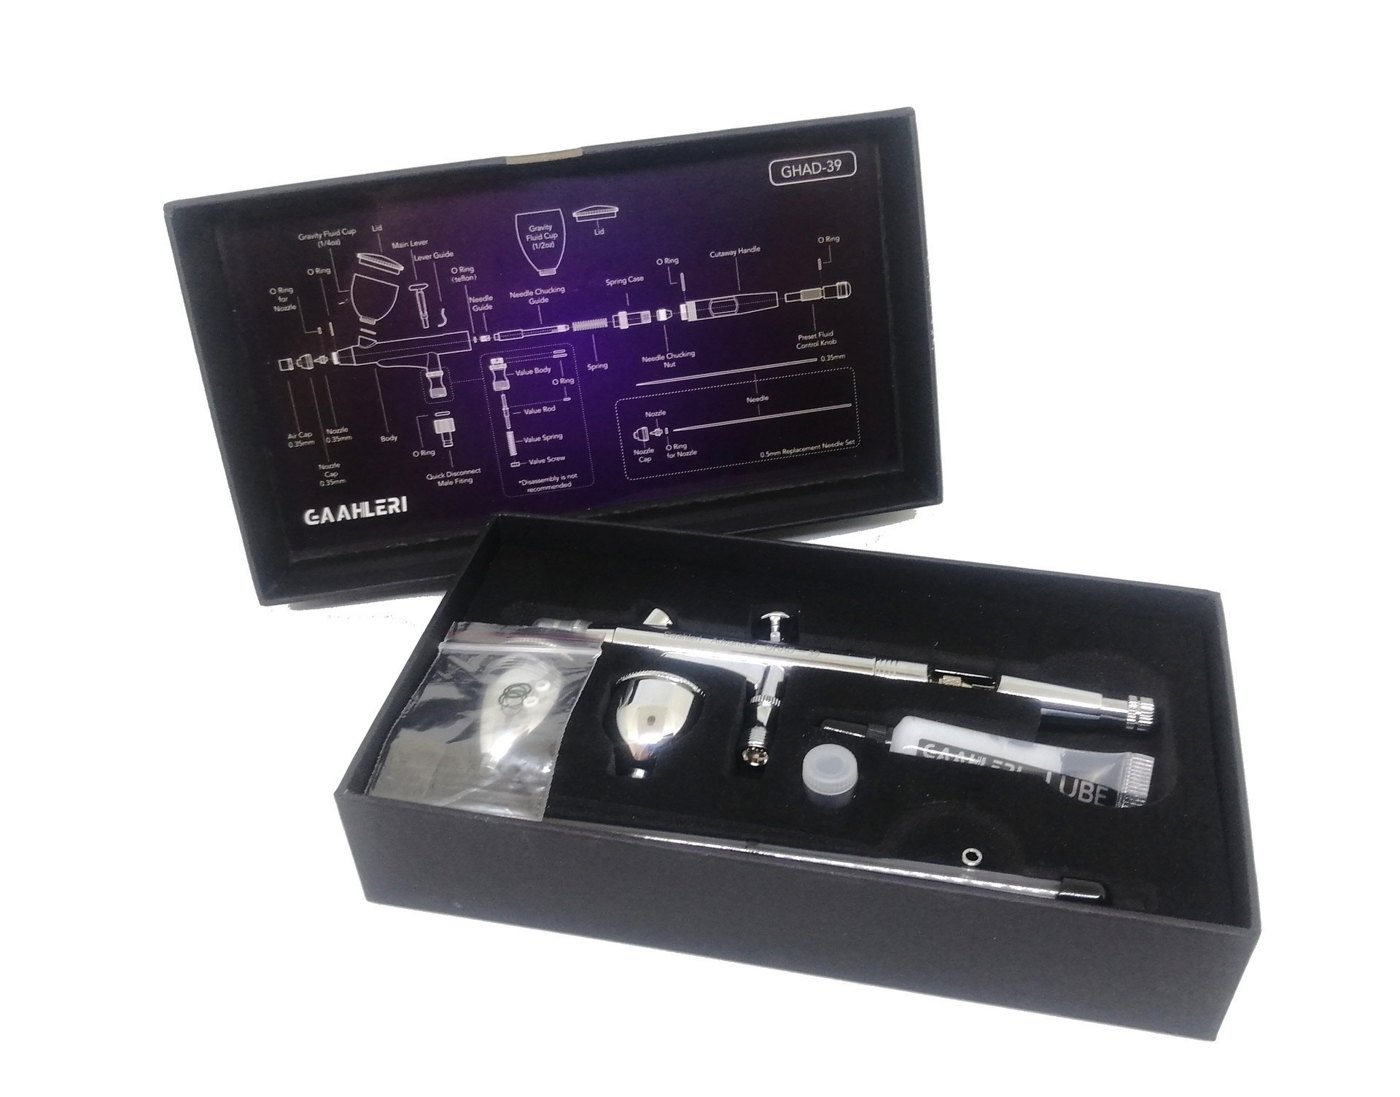
Often, yes, but only with the right parts. Many airbrushes can be converted to a different size, and size changes are not a permanent commitment. The key is that a conversion is a matched set: the correct needle, the correct nozzle, and usually the correct nozzle cap or air cap for your specific model.
Parts are model-specific. Nozzles come in different styles, such as small screw-in tips and larger drop-in nozzles, with different threads and cap designs. Generic multi-size kits exist, but the real question is whether a set actually fits your airbrush.
Never swap only the needle and expect a size change. Putting a different-size needle into the existing nozzle can damage the nozzle tip or simply fail to seal.
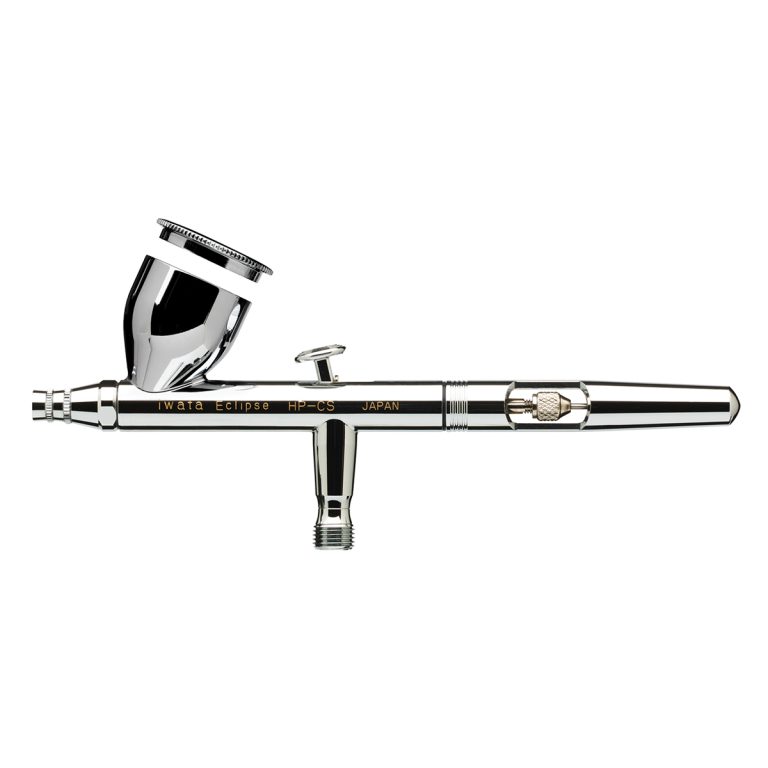
As an example of how naming varies, the US version of the Iwata Eclipse HP-CS uses a 0.35 mm needle and nozzle with a drop-in nozzle. You will sometimes see it described as 0.3, but the standard US model is 0.35. Check your exact model before ordering parts.
If you are comparing complete tools instead of converting one, the airbrush shortlist explains the main differences between the models.
Will an upgrade fix your problem?
Before buying a new size, name the limitation you are actually hitting:
- “My primer keeps clogging.” If it is prepared correctly and the airbrush is clean, a larger matched setup may genuinely help.
- “Basecoating takes forever.” A larger setup can speed this up, especially on vehicles, terrain, or big batches.
- “I can’t get fine lines.” Check tip dry, thinning, distance, and trigger control first. If those are dialed in and you still want more control, a smaller setup is a real upgrade.
- “It spatters at the start of a stroke.” That usually points to thinning, tip dry, or cleaning, not size.
A useful rule: choose a setup that handles your most common job comfortably. A repeatable basecoat and controlled highlights matter more than one exceptionally thin line.
Before blaming the size, check tip dry and repeated clogs on the setup you already own.
FAQ
What needle size is best for a first airbrush for miniatures? Around 0.3 to 0.35 mm is a useful all-round starting point. A 0.4 to 0.5 mm setup also makes sense when priming and basecoating are the main jobs.
Is 0.5 too big for miniatures? No. It is great for priming and basecoating and can do controlled work, though fine detail takes more discipline.
Do I need 0.2 for small figures? No. It is a nice optional tool for fine highlights and tight blends, not a requirement.
Can I buy just a smaller needle? No. Size changes need a matched needle, nozzle, and usually cap made for your specific airbrush model.
Does needle size set my line width? It influences it, but taper, cap design, paint, distance, and trigger control matter just as much.