That distinction won’t cover every situation, but it’s the most useful place to start. This article sticks to choosing between the two. If you want the full mixing process, see our thinning guide.
What Each Additive Is Mainly For
I reach for thinner when the mix is too thick to spray cleanly. Some thinners also slow drying. If the mix already sprays smoothly but paint keeps drying on the needle, I clean the tip and try a flow improver before thinning the paint again.
Symptom-to-Choice Table
Scroll sideways to see all columns
| What you see | Likely cause | First thing to try |
|---|---|---|
| Spray is coarse, grainy, or rough from the first pass | Paint may be too thick or working pressure too low | Check pressure first, then try thinner if the mix is too thick |
| Spray starts fine, then sputters; dried paint keeps reappearing on the needle tip | Paint drying at the tip | Flow improver |
| Tip dry is worse with a small needle or fine detail work | Drying at the tip, small nozzle | Flow improver |
| Paint is thin but still spits, sprays off-center, or won’t spray even after cleaning the tip | Possible damaged or clogged nozzle, or other hardware issue | Inspect and clean the nozzle, then replace a part if damaged |
| Paint runs, pools, or spiders easily | Mix may already be too thin, or pressure/distance off | Don’t add more thinner; adjust mix or technique |
The key separation is in the first and third rows. Thick paint that sprays coarsely is a problem from the start. Recurring dried paint on the needle after the spray initially works shows up over time. If you wipe the tip, it sprays well again, and then the buildup returns, that pattern points toward drying, not thickness.
Neither additive repairs hardware. A bent needle, cracked nozzle, or nozzle clogged with cured paint needs cleaning or replacement. Pouring additives into a mix won’t solve a mechanical problem, and it can hide the real cause while you chase it.
A Vallejo Example
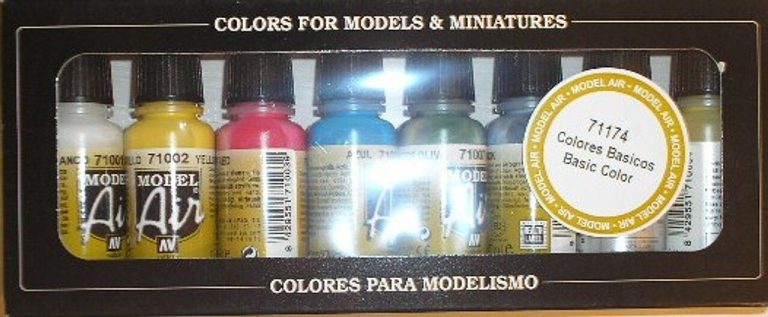
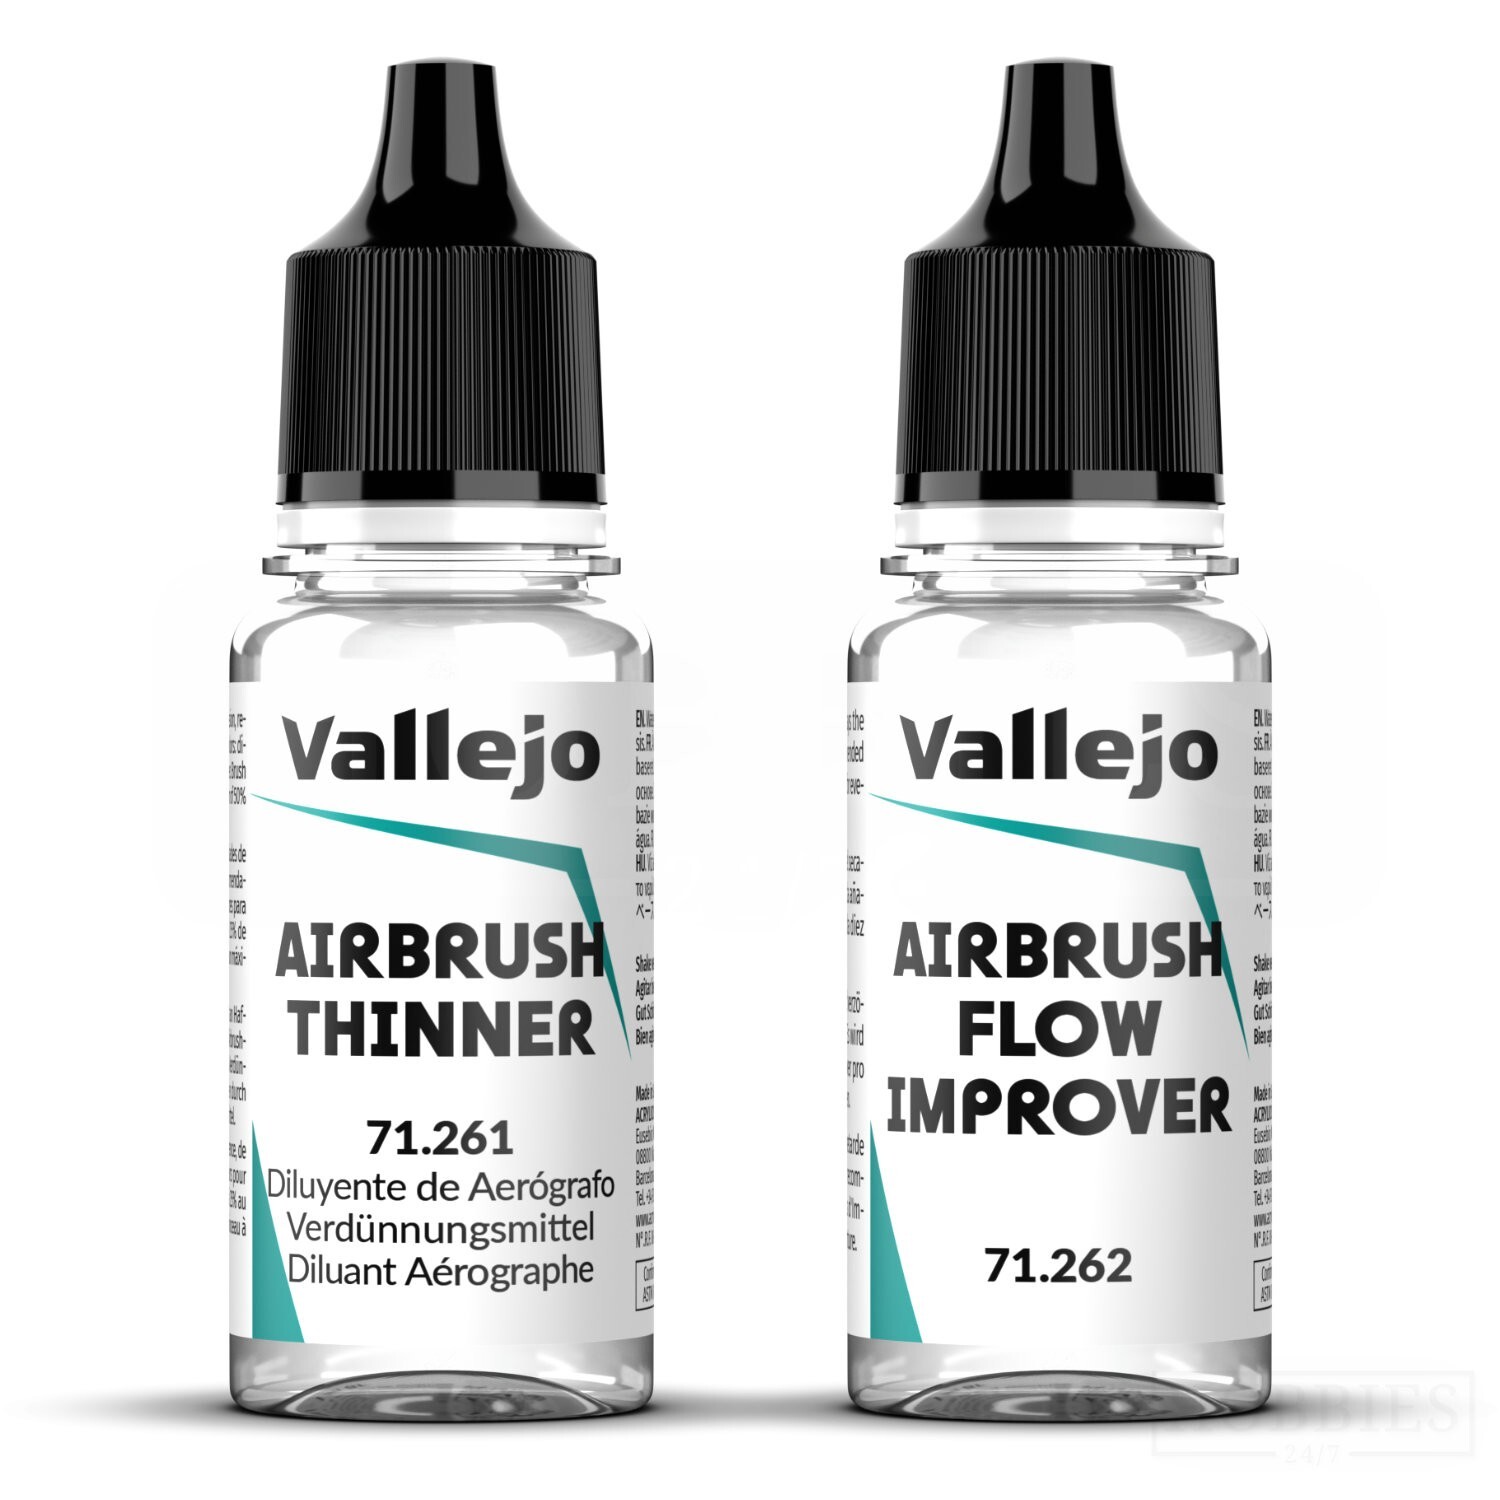
I start with Model Air straight from the bottle. If it needs thinning, a starting mix is 3 parts Model Air to 1 part Vallejo Airbrush Thinner 71.261. If the mix sprays well at first but dried paint keeps returning to the needle, I clear the tip and try a little Vallejo Flow Improver 71.262 on the next test pass. That is especially useful to check with a fine needle.
Can You Mix Them or Substitute One for the Other?
Mixing: I thin the paint first and test it. If I still get tip dry, I try adding a small amount of Flow Improver to a separate portion of the same Model Air mix and compare. These two Vallejo additives can be used together with Model Air. I avoid stacking the full amounts from two separate recipes.
Substituting: Because both products can affect flow and drying, you may see some overlap in what they do. That doesn’t make them interchangeable. Using flow improver as your only way to thin thick paint, or using extra thinner to fight tip dry, may get partial results while creating new problems. Match the additive to the symptom first.
A One-Variable Test on Scrap
When you’re unsure which additive you need, change only one thing at a time and compare the results on scrap plastic, a spare model, or a test card.
- Set a baseline. Use your paint as you normally would, at a consistent pressure and distance. Spray a few passes and note what you see: coarse texture, sputtering, or dried paint building up on the needle.
- Pick one additive based on the symptom. Coarse from the start suggests thinner. Buildup that recurs after the spray initially works suggests flow improver.
- Add a small amount of that one additive only. If your paint line has manufacturer directions, start from those. Keep pressure, distance, and needle the same.
- Spray the same test pattern again. Compare against your baseline. Did the texture smooth out? Did the tip stay clear longer?
- Adjust in small steps. If it improved but not enough, add a little more of the same additive. If it got worse or the paint started running, start again with a fresh batch and less additive.
- Only then consider the other additive. Once one variable is dialed in, you can test whether the second additive helps with a remaining problem.
If neither change helps and the paint still spits or sprays off-center after a thorough tip cleaning, stop adjusting the mix and check the nozzle and needle.
There’s no universal recipe here. Paint lines, airbrushes, needle sizes, and conditions all differ. The scrap test is how you find what works for your setup instead of copying a number that was meant for someone else’s.
Use the paint thinning workflow for a repeatable small-batch test. If you are changing ranges entirely, compare paints made for airbrushing miniatures before buying more additives.