Start Here: Set the Regulator While Air Is Flowing
I hold the trigger down for air while adjusting the regulator. That way I can see the pressure I will actually be spraying at.
When the trigger is released, the gauge shows static pressure, the pressure sitting in a closed line. When you press the trigger and air starts moving, the reading drops to your working pressure. The working figure is the one that actually atomizes paint. If you dial in a number at rest, you will be spraying at something lower than you think.
A practical routine:
- Hold the airbrush pointed away from anything you care about.
- Press down for air only (no paint flow, or with the cup empty).
- Watch the gauge and turn the regulator until the reading you want appears while air is flowing.
- Release, then press again to confirm the working reading returns to the same place.
Normal Drop vs. Continuing Swings
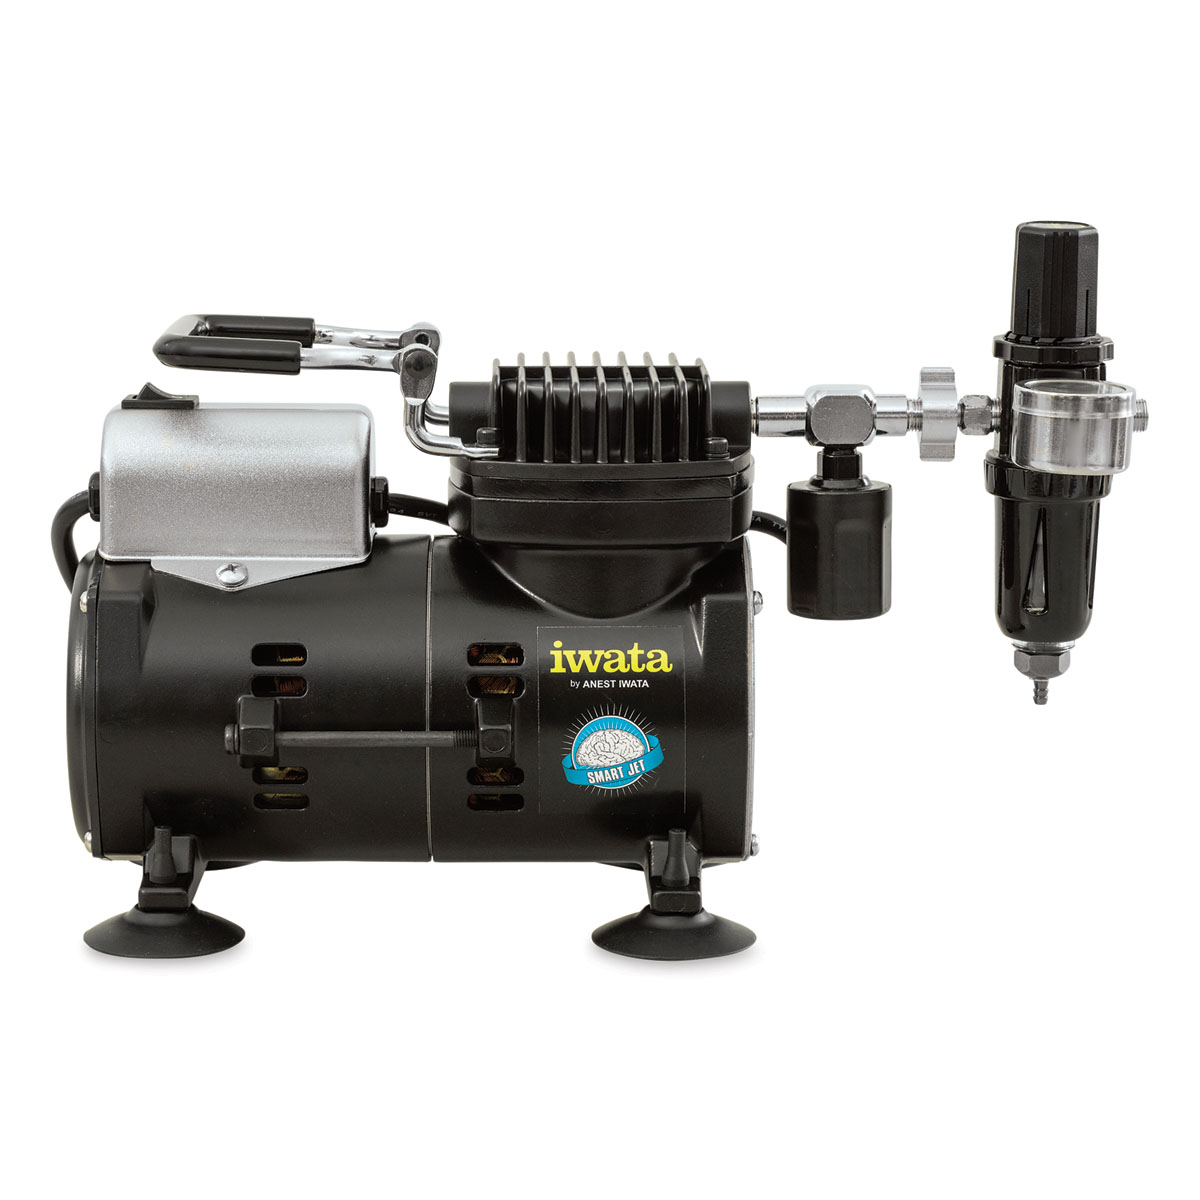
A drop on the gauge when you press the trigger is expected. That initial dip from static to working pressure is normal behavior, and a higher static reading at rest is nothing to worry about.
What deserves attention is a needle that keeps moving while you hold the trigger steady. A reading that settles and holds is fine. A reading that pulses or wanders points to a supply that is not keeping up or is fluctuating. If the spray pulses in time with the gauge, I check the air supply first. That is a different problem from spidering or spatter, and it is best handled as an air supply issue rather than by changing your paint mix.
If pressure will not build or keeps falling during a steady trigger pull, check the compressor and air supply before deciding you need a replacement.
If the air supply cannot keep up, compare compressors by airflow and setup rather than increasing the pressure setting.
Compressor Maximum Is Not Operating PSI
Your compressor’s maximum rating tells you what the machine can produce. It is not a recommendation for spraying. The working pressure you set at the regulator is what matters. I use the working range for my airbrush as a starting point.
The Scrap Test: One Variable Per Pass
Once your regulator is set with air flowing, test on something you do not mind ruining: a spare plastic piece, a sprue, a primed spoon or an old model. The key rule is change only one thing at a time. If you change pressure, thinning and distance all at once, you cannot tell which change fixed or caused the result.
- Fix your mix. Thin a batch of paint and use that same batch for the whole test.
- Fix your distance. Pick a consistent distance from the scrap surface and hold it for every pass.
- Fix your trigger opening. Pull back the same amount each pass. If your airbrush has a needle stop or pre-set handle, use it to keep this repeatable.
- Set a starting pressure with air flowing. If your paint maker suggests a range, begin there, as long as it suits your equipment.
- Spray a short pass and look closely. Check the edge of the line, the texture of the coat and any spray landing outside the target area.
- Change pressure by a small step, re-check it with air flowing, and spray another pass beside the first.
- Compare the passes side by side. Note which one gives a smooth, even coat with controlled edges.
- Only then adjust another variable if needed, such as thinning or distance, and run a new set of passes with pressure held steady.
This keeps the test honest. Keeping the other settings steady makes the comparison easier to interpret.
Reading the Finish
The scrap surface is your gauge for results. Some common signs:
- Coarse droplets or spatter. This can come from pressure that is too low, but it can just as easily come from paint that is too thick. Dried paint at the tip and a dirty airbrush can also cause spatter. Check the tip, the paint and the air separately instead of assuming one cause.
- Spidering (paint running out in thin legs from where it lands). I check for a watery mix, high pressure or the airbrush held too close. Backing off distance, reducing pressure or adjusting the mix are all candidates, one at a time.
- Drift and overspray. If paint is landing well outside the area you are aiming at, lower pressure may help. Distance and mix also play a role, so treat pressure as one option to test rather than the automatic answer.
- Pulsing or uneven spray. Look at your air supply first, especially if the gauge needle is swinging during a steady trigger pull.
For mixture changes, follow the paint thinning steps while keeping the other settings fixed.
Task and Adjustment Table
The table below gives directions to test, not fixed numbers. Use your paint maker’s guidance and your airbrush’s specifications as starting points.
Scroll sideways to see all columns
| Task | Typical starting approach | If you see problems, try adjusting |
|---|---|---|
| Priming | Begin with the primer maker’s own instructions. Thicker materials often need more working pressure for proper atomization. | Coarse texture: check thinning and tip cleanliness, then test a small pressure increase. Excess drift: test slightly lower pressure or closer distance. |
| Basecoating | Start within your paint maker’s suggested range if one is given. Vallejo’s Model Air guide, for example, suggests 15 to 25 psi depending on task and distance. | Spidering: increase distance or reduce pressure. Grainy finish: check mix consistency before raising pressure. |
| Detail work | Lower pressure, thinner paint and closer control, set up separately from your basecoat settings. | Spidering at close range: reduce pressure or paint flow. Spatter: clean the tip and check mix. |
A note on that Vallejo figure: it is a paint maker’s example for one specific paint line in one guide. It is a reasonable place to start testing with Model Air if your equipment suits it, but it is not a universal operating range for every paint or every airbrush. There is also no single correct primer pressure. Primers vary a great deal in thickness, so their own instructions are the best first step.
Detail Work Gets Its Own Setup
For fine detail, I test a thinner mix, a closer working distance, and lower pressure. The important part is that these are tested one at a time in a separate detail setup. Do not simply turn pressure down and keep your basecoat mix. Treat detail as its own scrap test: settle a thinner mix, pick a closer working distance, then find the pressure that gives a clean line without spidering.
A smaller figure does not automatically require a smaller nozzle. Compare needle and nozzle sizes for miniature work before buying a conversion.