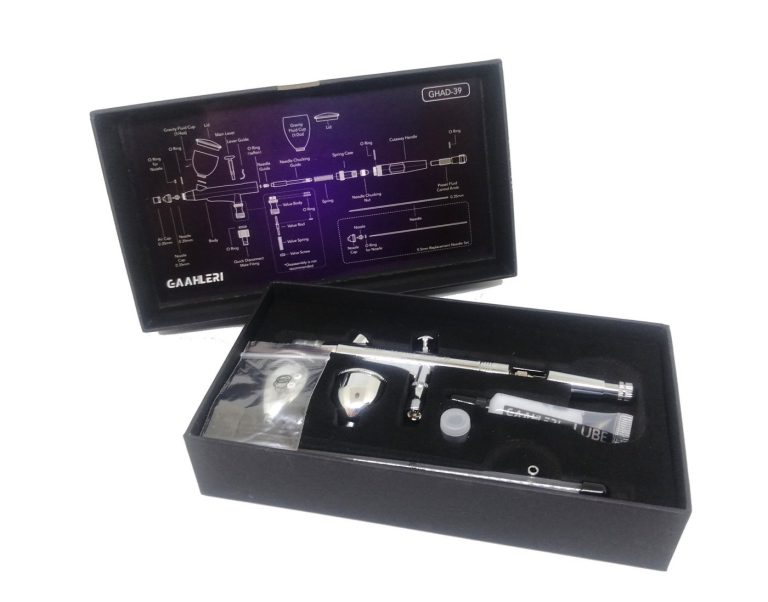
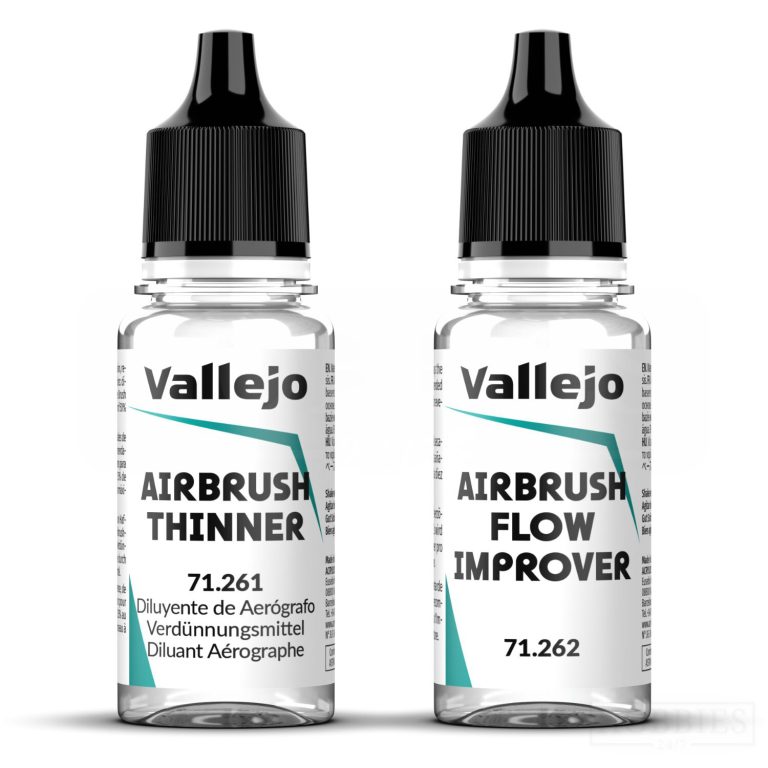
First check: wipe the tip and retest
Intermittent spray has several common causes: tip dry, paint that’s too thick, dirt in the paint path, and a damaged nozzle. When no paint comes out at all, a loose needle chucking nut or, on a bottom feed brush, a plugged vent can also be the culprit. A loose chucking nut means the needle never retracts, so the brush looks blocked when it isn’t.
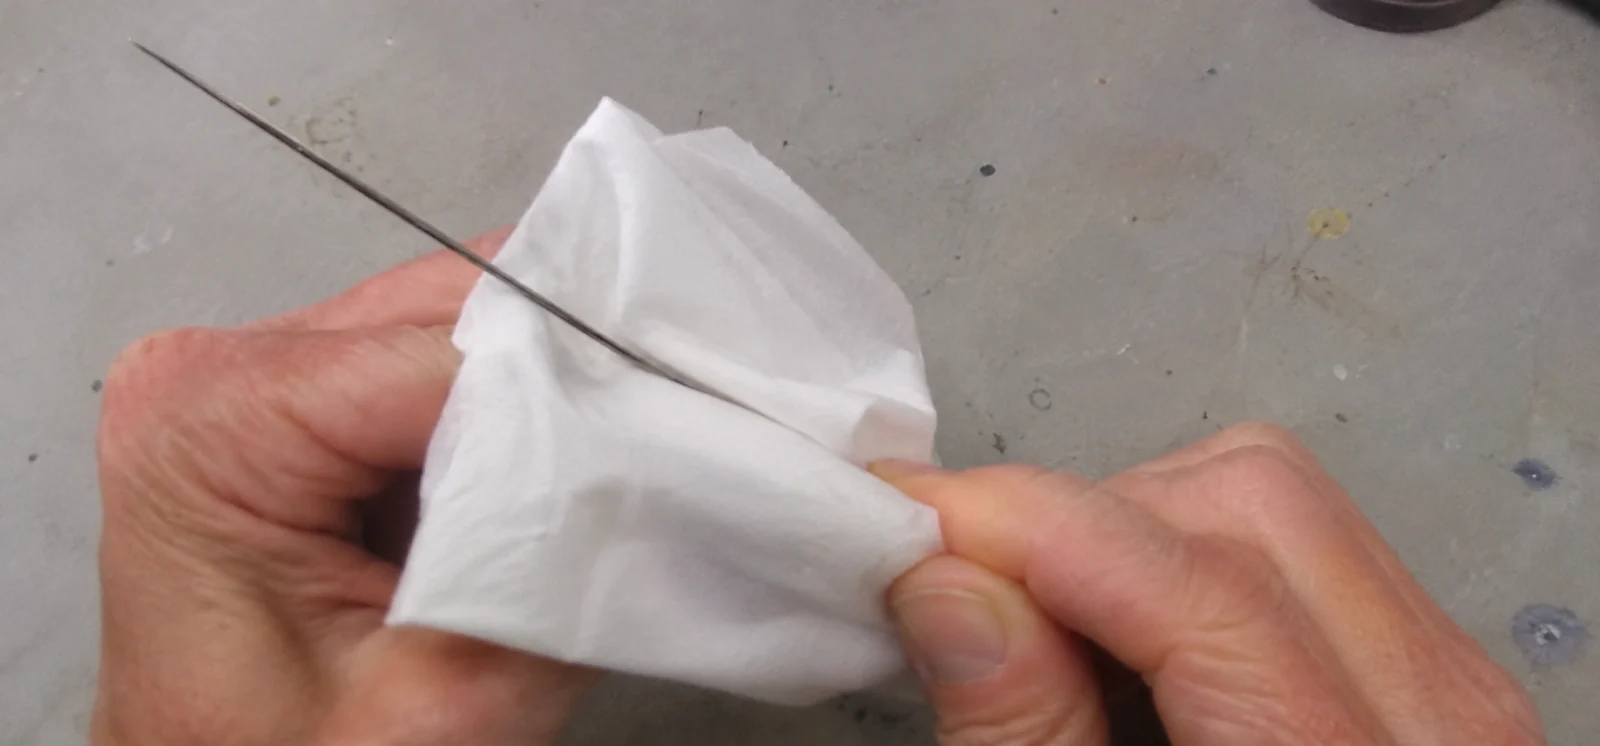
My routine is short. Air off first. Then I wipe the needle tip toward the point with a lint-free cloth dampened with the right cleaner for the paint I’m using. I match the cleaner to the actual paint line; products sold as acrylic can use different solvent systems. Then air back on, and a test line on scrap card at my normal pressure and distance.
Tip dry or internal blockage
Tip dry is paint drying on the needle tip and nozzle opening faster than you spray it. It’s a surface problem that keeps coming back. An internal blockage is dried paint, a flake, or a clump inside the nozzle or feed path. Wiping the outside won’t touch it.
Scroll sideways to see all columns
| What you see | Likely cause | Next action |
|---|---|---|
| Flow returns after wiping, buildup reappears within minutes | Tip dry | Adjust the mix, consider a drying retarder, wipe the tip routinely |
| Spray spits or speckles, gets worse over time | Paint too thick or partly dried in the cup | Fresh, properly thinned mix in a clean cup |
| No change after wiping the tip | Internal blockage or feed problem | Water test, then inspect feed and nozzle |
| Air flows but no paint at all | Needle not retracting, or plugged vent (bottom feed) | Check chucking nut tightness and the vent |
| Uneven or split spray pattern even with clean paint | Damaged nozzle or bent needle tip | Inspect; replace with the model-specific part |
Water test and a fresh mix
Once I’ve flushed out the paint, I run a water test, but only when I’ve been using water-based acrylic. For lacquer or enamel, I use a compatible test fluid after flushing. If water sprays smoothly, I start by checking the paint mix. A partial blockage is still possible.
Next I mix a fresh small batch rather than adding thinner to whatever is sitting in the cup. Old paint in the cup may already have skinned or formed clumps, and those are exactly what lodge in the nozzle.
Then I change one thing at a time. If I thin the paint, raise the pressure, and move closer all at once, I can’t tell which change worked, and I’m likely to swap the clog for spidering or runs. Mix first, then pressure, then distance.
If tip dry keeps returning, a drying retarder can help. With Model Air, I would try a little compatible Flow Improver to delay drying on the needle. It won’t dissolve paint that has already dried, though, so clear existing deposits first.
The paint thinning guide explains how to rebuild a small test mixture instead of adding more products to a failing batch.
When to remove the nozzle
Remove the nozzle only when the evidence points inside: the tip wipe didn’t help, fresh paint still won’t flow, and the needle retracts properly. Pulling the nozzle unnecessarily adds wear and the risk of damage.
How you remove it depends on the brush. Small threaded nozzles unscrew from the body. Some designs differ: the Iwata Eclipse BS, SBS and CS use a compression nozzle assembly that isn’t meant to be separated. Check which type yours has before you put a wrench on anything.
With the nozzle out, soften dried paint with the matching cleaner and clear it with a tool made for that nozzle size. Never push a sharp scraper or reamer through a small nozzle, since forcing tools in can split or flare the opening and ruin it. Clean the detached front parts rather than soaking the whole assembled body, which can trap cleaner around seals and parts that weren’t meant to sit in it.
If the nozzle is cracked or the opening is deformed, replace it with the set specified for your exact model and size. Nozzles and needles aren’t broadly interchangeable, even between brushes that look alike.
For removal and cleaning, use the deep-cleaning steps.
Keep the next session flowing
Here’s what I check before the next session:
- Match the cleaner to the paint. Mixing systems without flushing between them can leave residue that reacts or flakes.
- Start with a clean cup. Dried paint on the cup walls flakes off into fresh paint and heads straight for the nozzle.
- Strain out clumps. Thick primers and old bottles are frequent offenders.
- Thin to a consistent mix and change only one variable at a time when adjusting.
- Wipe the needle tip during long sessions before tip dry builds into a stoppage.
- Keep needle and nozzle as a matched set for your model and size.
If the brush keeps losing flow even with all of this in place, it’s time for a full teardown and cleaning, which is a separate job from the quick diagnosis above.
If a correctly prepared primer still struggles, compare nozzle sizes for the job and the requirements of different miniature primers.